PhpMyAdmin is a free and open source tool written in PHP that allows you to easily manage MySQL databases through a web interface. With PhpMyAdmin, you can create and configure databases, create/edit/drop tables, insert data, execute SQL queries and manage users.
In this article we will go through the key things you can do in phpMyAdmin to manage your MySQL databases and tables.
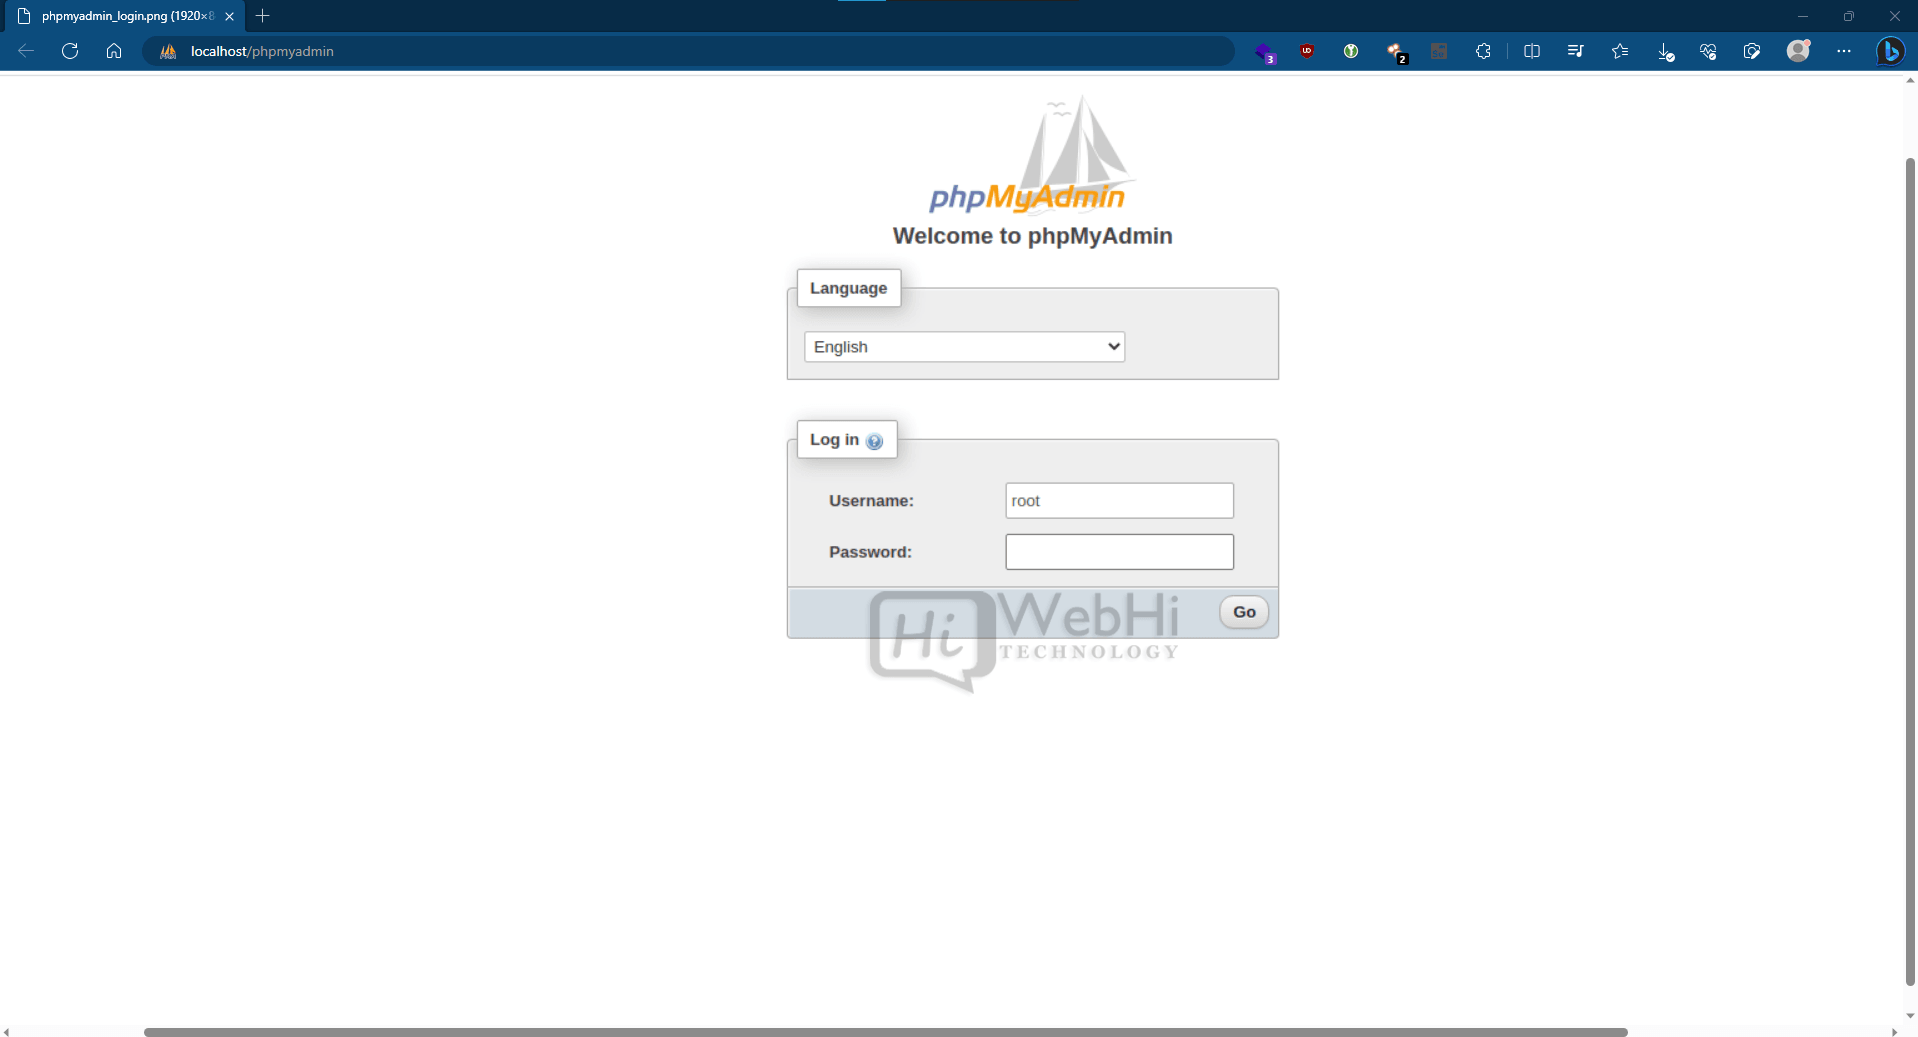
Login to phpMyAdmin
To access the phpMyAdmin interface, you just need to navigate to the url where it is hosted, usually something like:
http://localhost/phpmyadminOr
http://ip-address/phpmyadminDepending on how it has been setup.
You will be presented with a login screen where you need to enter your MySQL username and password. These are the credentials you use to normally access MySQL and not specific phpMyAdmin credentials.
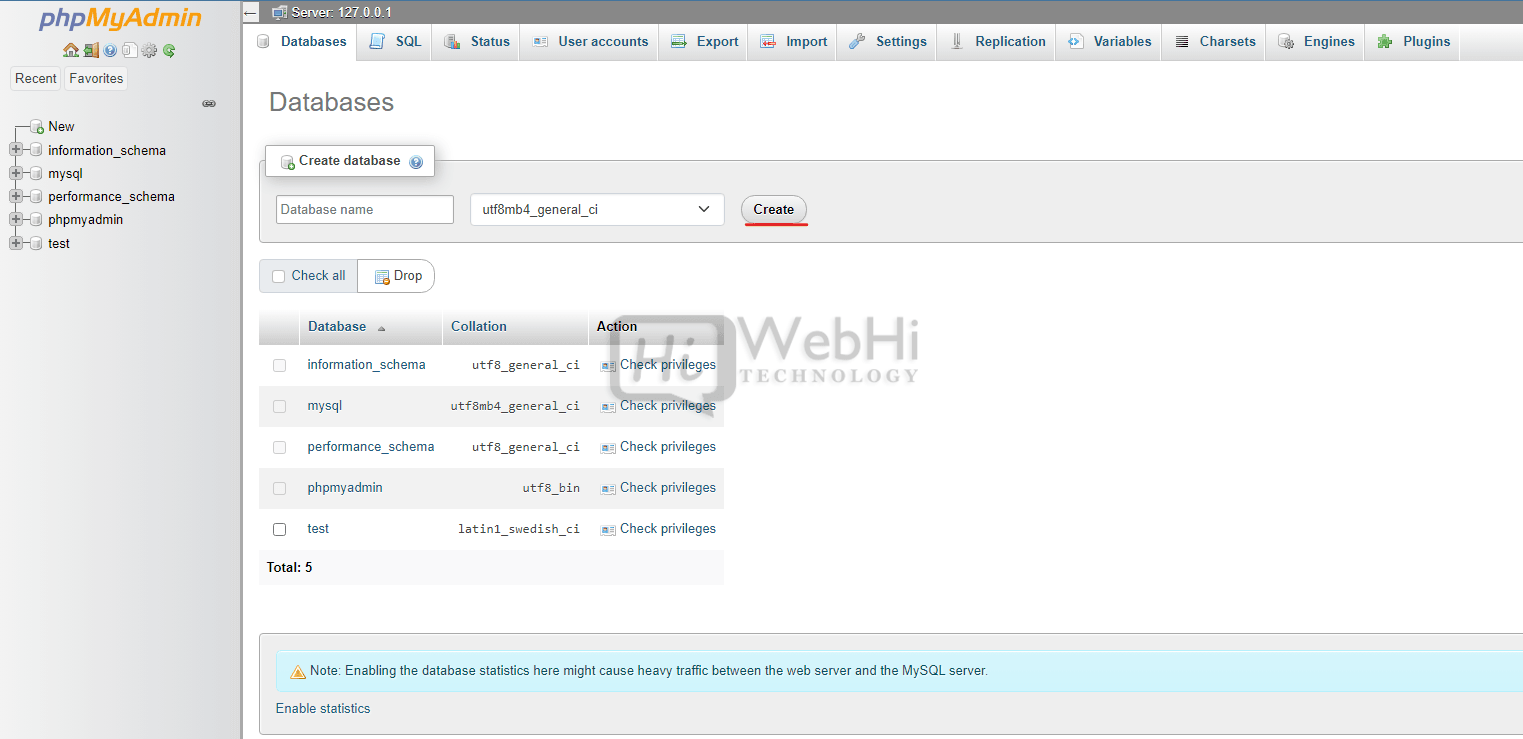
Once logged in, you will be taken to the main dashboard which displays the existing databases.
Creating a New Database
To create a new database, click on the “New” link near the top left.
This will bring up a form where you need to enter the name for your new database. Make sure you choose a descriptive name relevant to the application.
Once you enter the name, click Create and the new database will be instantiated. The dashboard will now display the new database in the list.
Editing and Deleting a Database
To edit or delete an existing database, check the checkbox beside it’s name in the dashboard then click Operations.
This will give you the options to Edit or Delete it. Edit allows you to change the name.
Deleting will completely remove the database and all tables and data contained within. Make sure you really want to delete it before clicking Delete.
Creating Tables
To create a new table, click on the database you want to create it in from the dashboard.
This will show you a list of existing tables (if any) and options to create a new table.
Click the New button to bring up the Create Table form.
Here you need to enter the Name for your table and specify the number of columns/fields.
For each field you need to set:
- Field name – The name of the column
- Data type – The type of data it will store e.g. VARCHAR, INT, DATE
- Length/Values – Max characters for string types, length for numerics
- Default – Optional default value
- Index – Columns to Index
- A_I – Auto increment
- Null – Check to allow null values
- Other options – Like unsigned or zerofill types
Set these appropriately for each field your table requires.
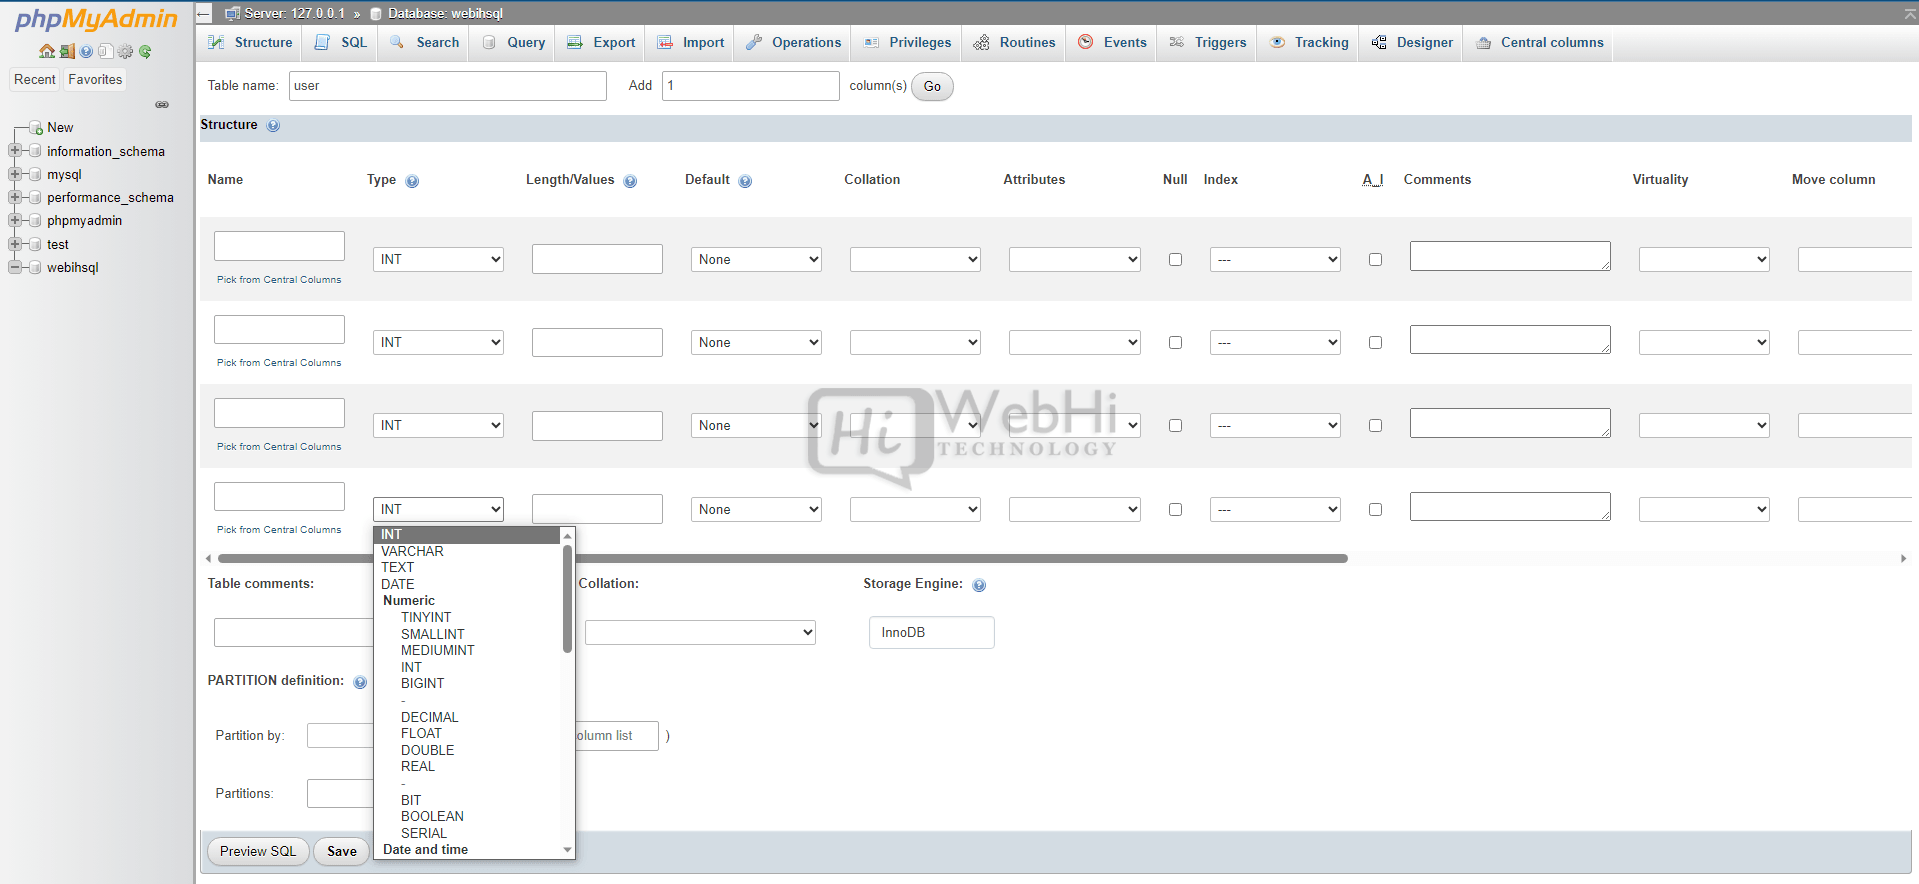
Once all fields are configured click Save and the new table will be created.
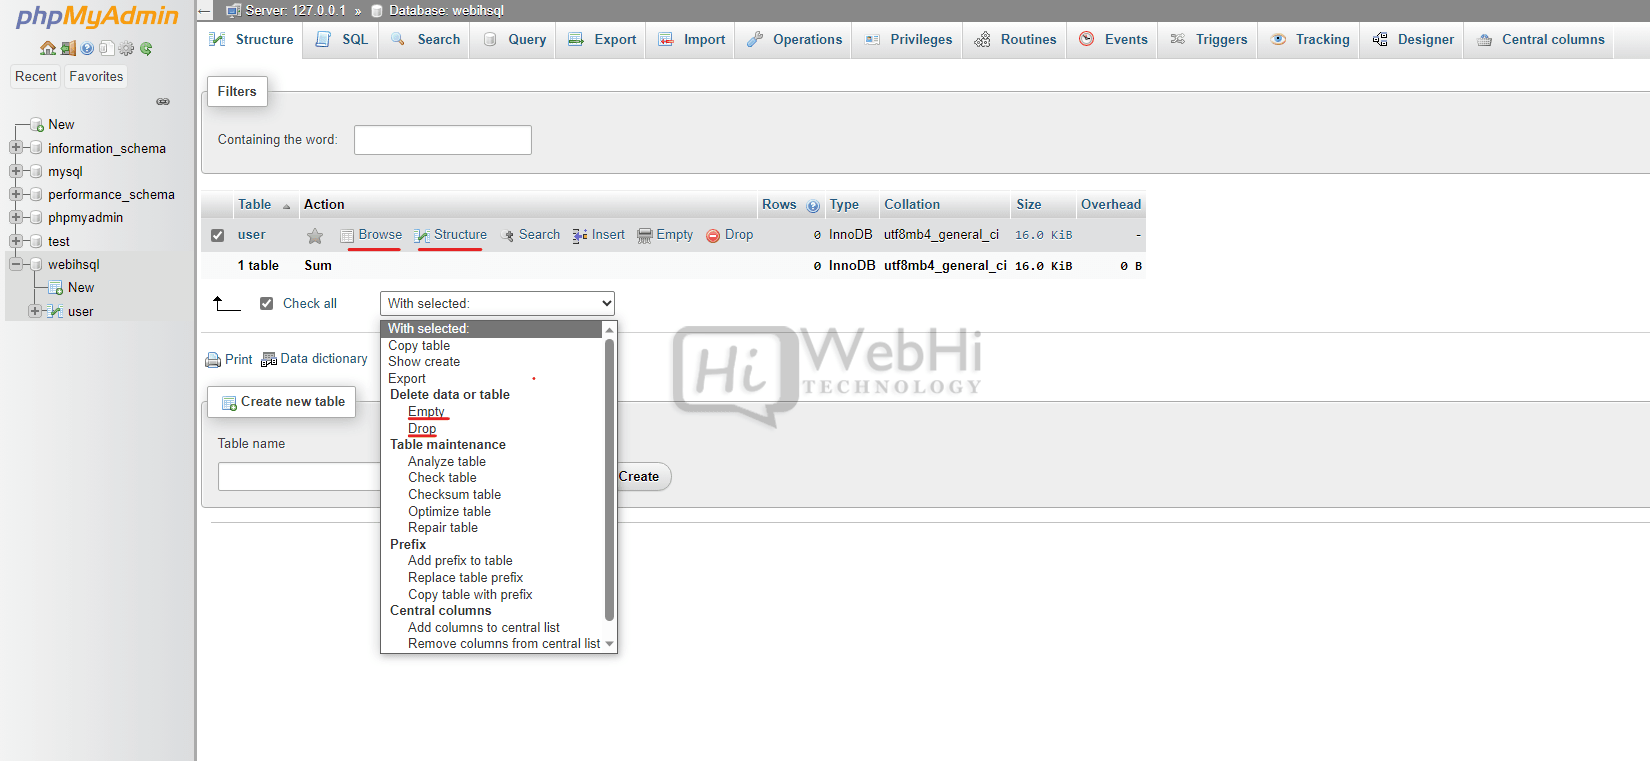
Editing and Deleting Tables
Similar to databases, you can edit and delete existing tables from the interface.
Check the checkbox next to a table then click Operations to get the options.
Edit allows you to modify the structure by adding/removing fields or altering field properties.
Delete will completely remove the table and all it’s data so be sure before clicking!
Inserting Data
To insert data into a table, go to the Browse tab when viewing the table then click Insert.
This will show a form with fields for each column where you can enter the data.
Complete the form, click Go and the new row will be inserted.
For large data imports, you may find it easier to use the Import tab and load from a CSV file.
Editing Data
To make changes to existing data in a table, go to the Browse tab and click Edit beside the row you want to modify.
This will show a form similar to Insert where you can overwrite the data in any fields. Modify as required then click Go and changes will be saved.
Deleting Data
To delete data, go to the Browse tab check the checkbox next to rows you want to delete then click Delete marked.
This will give a confirmation dialog before permanently removing the data.
SQL Tab for Queries
The SQL tab allows you to run SQL statements directly on the database.
This is useful for complex queries, deleting multiple rows, backing up data or optimizing tables that can’t easily be done through the UI.
Type your SQL statement in the box and click Go to run it. Results will display below.
Some common examples:
SELECT * FROM table– select all rowsDELETE FROM table WHERE id = 1– delete row by idOPTIMIZE TABLE table– optimize and clean tableDROP TABLE table– delete entire table
But you can run any valid MySQL queries.
User Management
phpMyAdmin also allows creating and managing MySQL users.
Go to the Users tab to view existing users and select Add User to create a new one.
Here you can define a username and password, assign global privileges like CREATE or DROP, and specify permissions on a per database basis.
Click Add User when done and they will be added to MySQL.
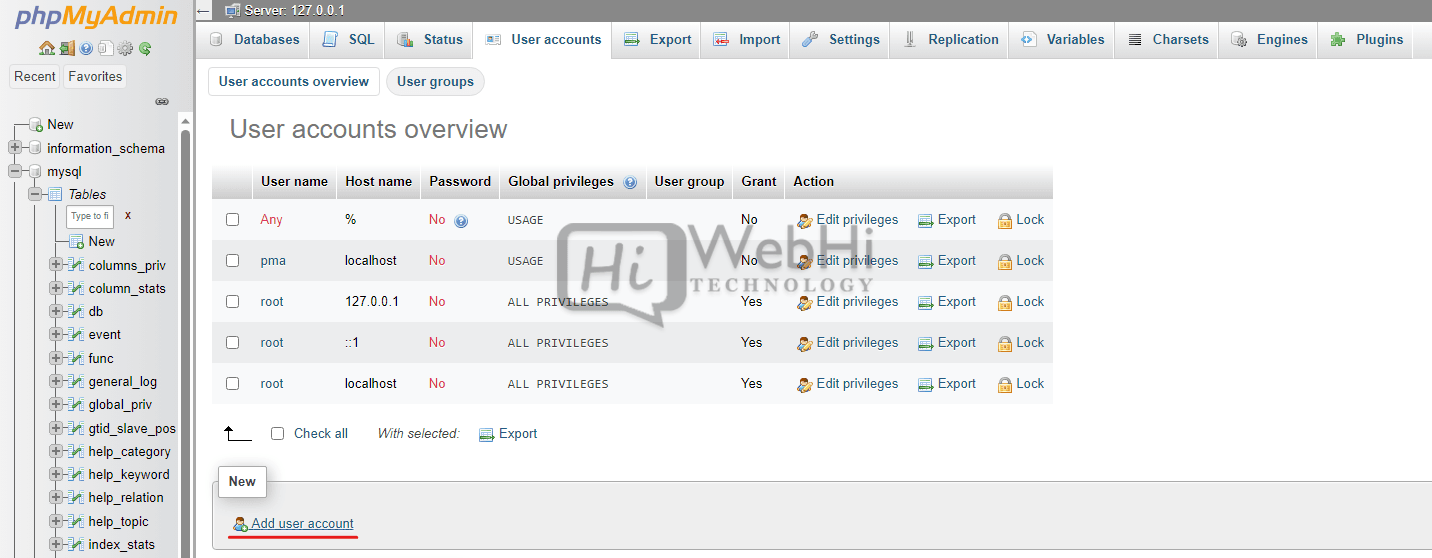
To edit or remove, check the user then click Edit Privileges or Remove.
This allows complete user management without needing direct access to MySQL.
Configuration
There are various settings that can be configured by going to the Settings link.
This includes options like:
- Server connection settings
- Display options
- Export and import defaults
- Editing and browsing behavior
- Security settings
- Various other preferences
Tweak these settings to customize phpMyAdmin to your needs.
Repairing Tables
If a table becomes corrupted or damaged, phpMyAdmin provides easy ways to attempt repairing it.
Go to the database for the problem table and click Operations next to it.
Select Repair Table.
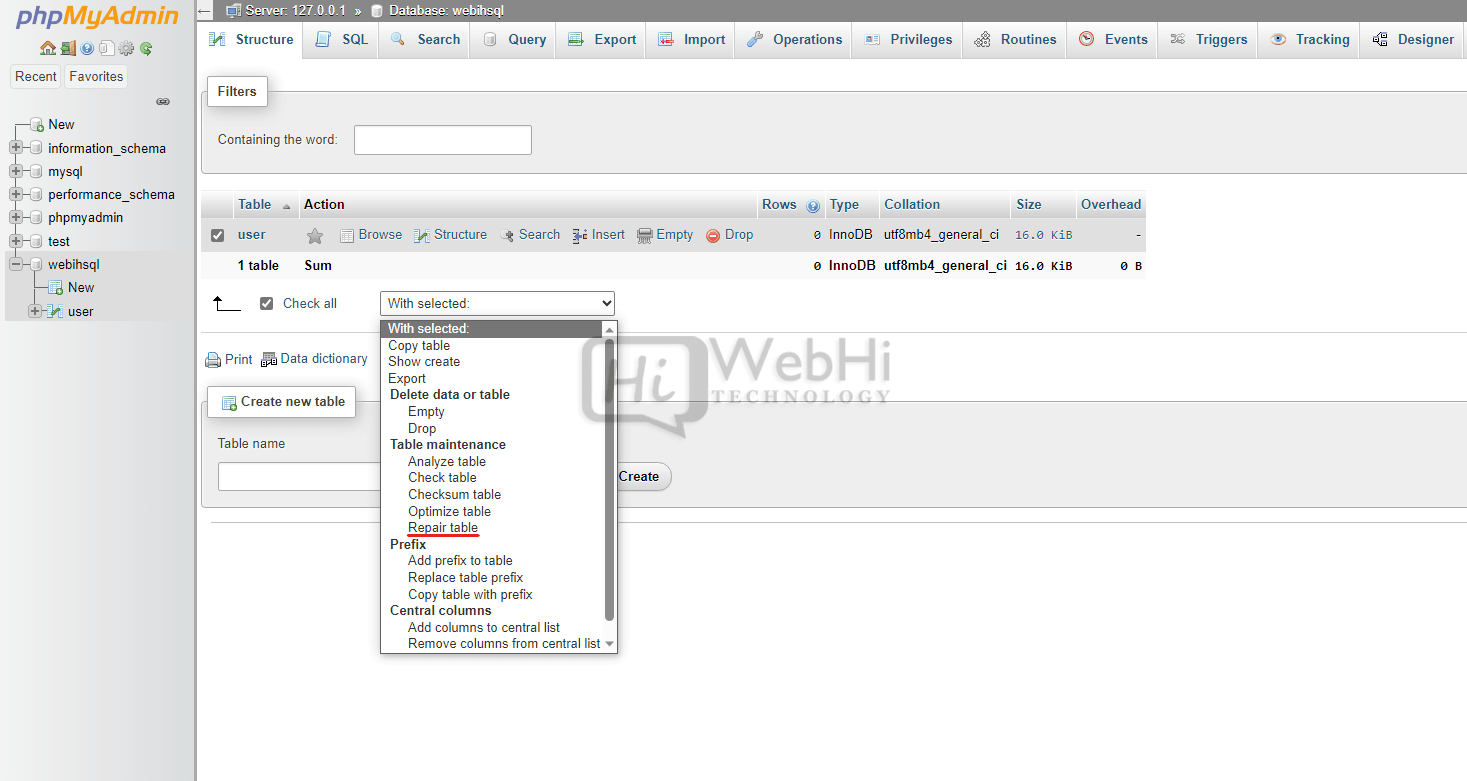
This will run the MySQL REPAIR TABLE command which will attempt to fix index and structure issues.
For more serious corruption you may need to rebuild the table by selecting Repair Table Advanced.
This recreates the table for you keeping the structure intact.
Sometimes dropping and recreating the table is needed, but repair options provide a less destructive way to recover in many cases.
Conclusion
That covers the key functionality you need to know to easily manage your MySQL databases and tables within phpMyAdmin.
With its simple web interface you can avoid using the command line for many common tasks. As well as handle administration of users and privileges.
It takes no time at all to get up and running with phpMyAdmin and most operations are intuitive from the interface.
So install it on your development or production environment, and you’ll have a slick GUI making MySQL administration much more pleasant!