
Introduction
Virtual hosts allow you to serve multiple websites on a single server. This can be useful if you want to host multiple websites on a single server, or if you want to move an existing website to a new server.
In this guide, we will show you how to set up virtual hosts on an Ubuntu 18.04 server.
Step 1: Install Apache
Before we can set up virtual hosts, we need to install the Apache web server.
We can install Apache using the apt package manager:
$ sudo apt update
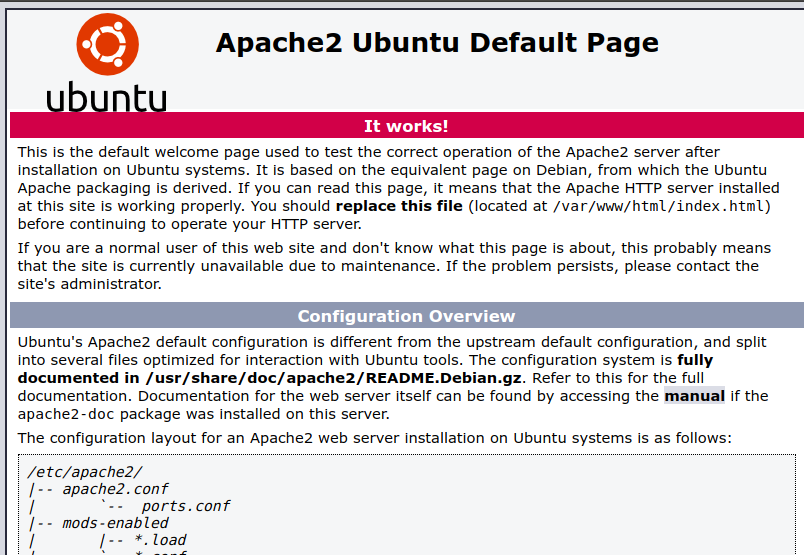
$ sudo apt install apache2Once Apache is installed, we can verify that it is running by visiting our server’s IP address in a web browser:
http://server_ip_address
You should see the Apache default page, which looks like this :
Step 2: Set Up a Domain Name
In order for virtual hosts to work, you will need to set up a domain name that points to your server’s IP address.
If you do not already have a domain name, you can purchase one from our website.
Once you have a domain name, you will need to set up an A record that points to your server’s IP address.
Step 3: Create the Virtual Host Files
Virtual host files are stored in the /etc/apache2/sites-available directory.
We will create a virtual host file for each website that we want to host on our server.
For example, let’s say we wanted to create a virtual host file for a website called example.com. We would create a file called /etc/apache2/sites-available/example.com.conf with the following contents:
<VirtualHost *:80>
    ServerAdmin [email protected]
    ServerName example.com
    ServerAlias www.example.com
    DocumentRoot /var/www/example.com/public_html
    ErrorLog ${APACHE_LOG_DIR}/error.log
    CustomLog ${APACHE_LOG_DIR}/access.log combined
</VirtualHost>
Be sure to replace the example.com domain name with your own domain name.
Step 4: Enable the Virtual Host Files
Once you have created your virtual host files, you need to enable them.
You can enable virtual host files with the a2ensite command:
$ sudo a2ensite example.com.confStep 5: Disable the Default Virtual Host
Apache comes with a default virtual host file called 000-default.conf. This file is located in the /etc/apache2/sites-available directory.
We need to disable this file so that it does not conflict with our virtual host files.
We can disable the default virtual host file with the a2dissite command:
$ sudo a2dissite 000-default.confStep 6: Restart Apache
After you have created and enabled your virtual host files, you need to restart the Apache web server so that the changes can take effect:
$ sudo systemctl restart apache2Step 7: Test Your Virtual Hosts
You can now test your virtual hosts by visiting your website in a web browser.
For example, if you set up a virtual host file for the example.com domain, you would visit the following URL in your web browser:
http://example.com
You should see the website that you set up in the DocumentRoot directory.
Conclusion
In this guide, we showed you how to set up virtual hosts on an Ubuntu server. Virtual hosts allow you to host multiple websites on a single server.