Jitsi Meet is an open-source video conferencing solution, providing virtual meeting rooms for remote team meetings. The software provides high video and audio quality and supports fully encrypted connections using TLS/SSL and Let’s Encrypt certificates.
Step 1: Updating server
Update the system’s existing software:
$ sudo apt update && sudo apt upgrade -yStep 2: Installing nginx
Before installing Jitsi Meet, install a Nginx server. The reverse proxy for the Jitsi web interface will be the Nginx server. If Nginx is installed on the system, the Jitsi installation program will handle its settings. Run the scripts below to install and activate Nginx:
$ sudo apt install -y nginx
$ systemctl start nginx.service
$ systemctl enable nginx.service
Step 3: Installing Jitsi meet
Ensure support for apt repositories served via HTTPS
$ sudo apt install apt-transport-httpsOn Ubuntu systems, Jitsi requires dependencies from Ubuntu’s universe package repository. To ensure this is enabled, run this command:
$ sudo apt-add-repository universe$ curl https://download.jitsi.org/jitsi-key.gpg.key | sudo sh -c 'gpg --dearmor > /usr/share/keyrings/jitsi-keyring.gpg'
$ echo 'deb [signed-by=/usr/share/keyrings/jitsi-keyring.gpg] https://download.jitsi.org stable/' | sudo tee /etc/apt/sources.list.d/jitsi-stable.list > /dev/nullUpdate package versions across all repositories:
$ sudo apt updateLaunch the installation of Jitsi Meet.
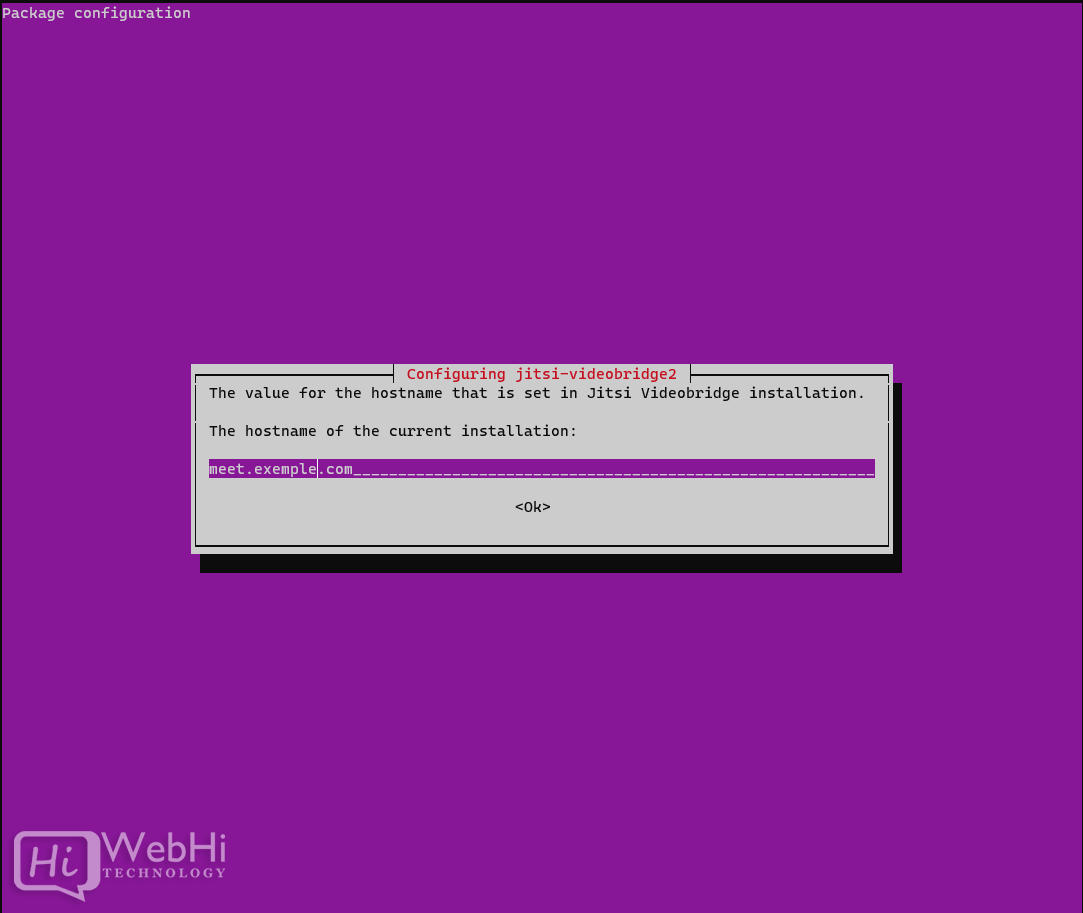
$ apt install -y jitsi-meetConfigure hostname meet.exemple.com .
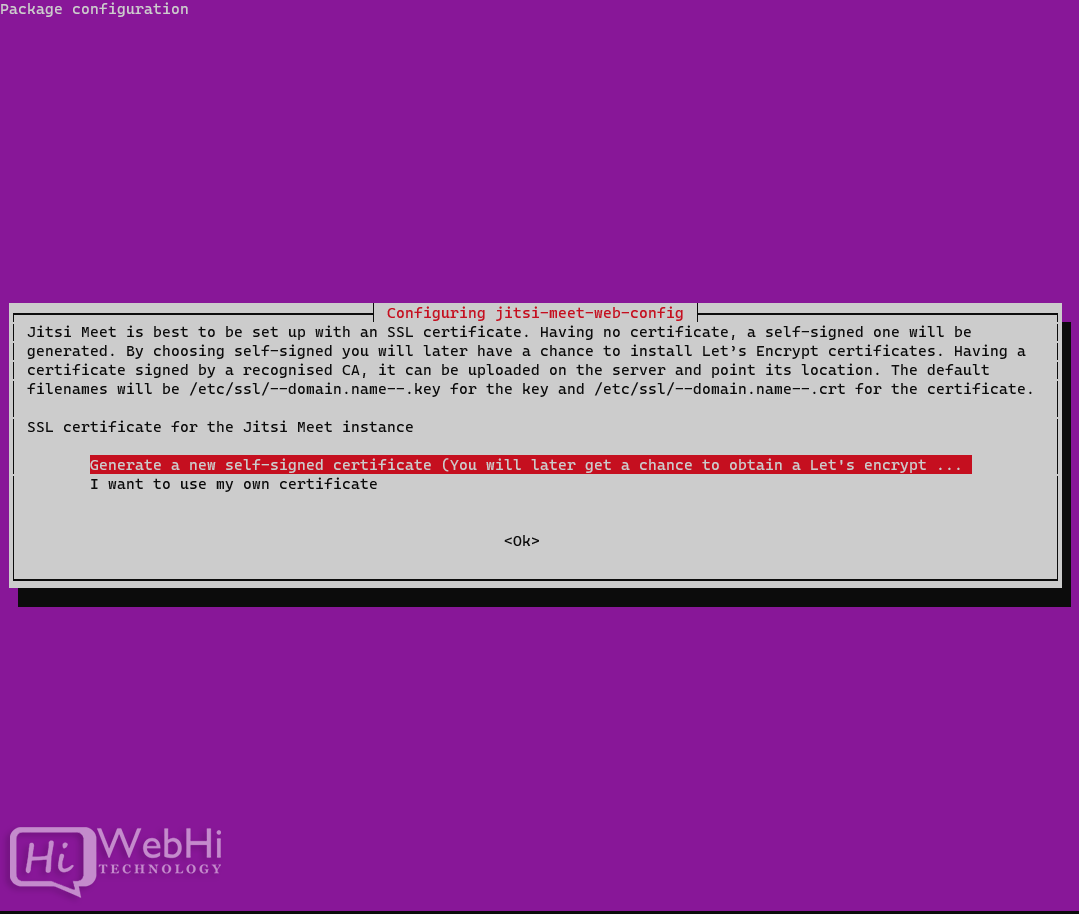
Add Let’s encrypt Certificate
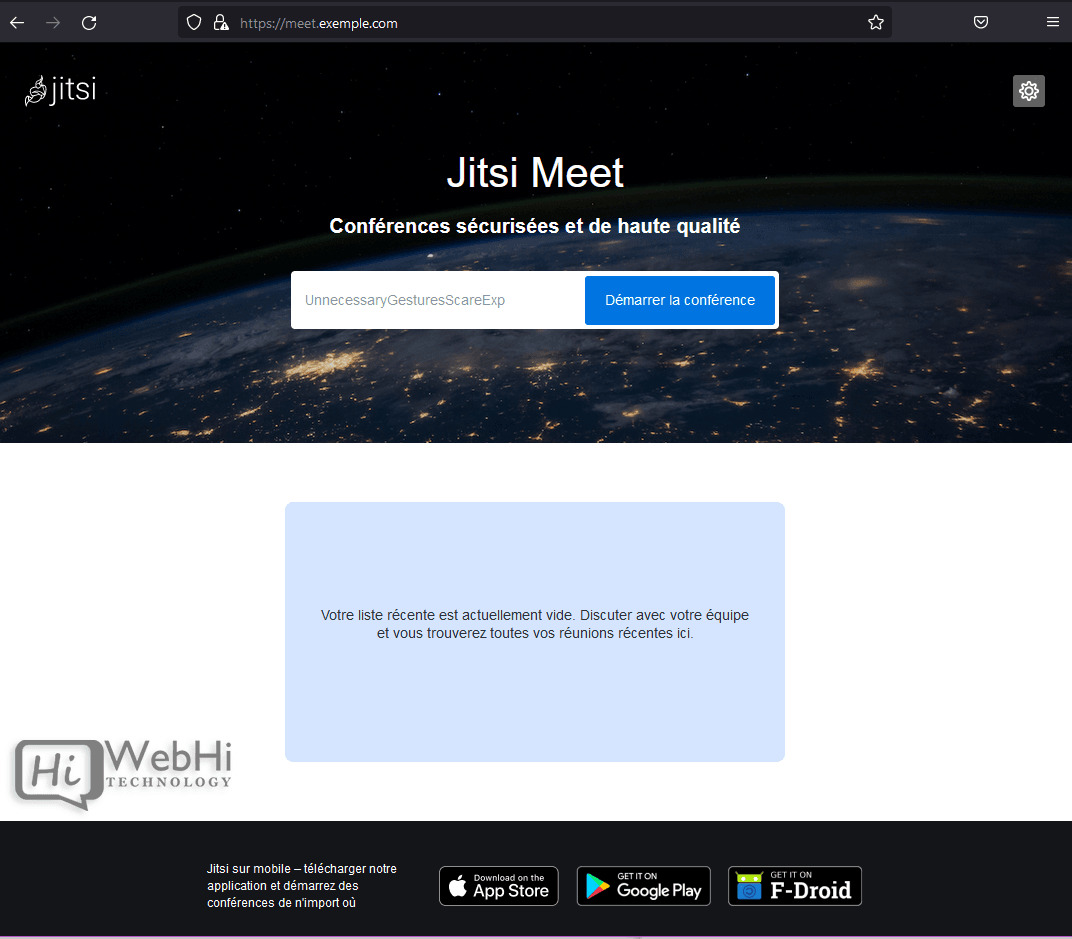
Your private Jitsi Meet instance is ready for a first conference call. Open a Web-browser and enter domain of your instance, for example: https://meet.exemple.com. You’ll see the following screen:
Step 4: Generate a Let’s Encrypt certificate (optional, recommended)
You require a TLS certificate to have encrypted communications.
Obtaining a certificate that has been authorized by a Certificate Authority is the best approach. By doing this, you can prevent issues with a self-signed certificate. Using Let’s Encrypt is the simplest method.
Just execute the following commands in your shell:
$ sudo /usr/share/jitsi-meet/scripts/install-letsencrypt-cert.shConclusion
Jitsi Installation is complete now.
To enter the conference room, type a name for your meeting and click Start Meeting. For the conference, it is now able to share the URL, set a password, adjust the audio and video quality, and more.