
To manage numerous domains in a single instance, the Apache web server makes use of virtual hosts. Similar to this, PHP-FPM manages many PHP versions on a single instance using a daemon. Multiple PHP web applications running various versions of PHP can be hosted simultaneously on the same server using Apache and PHP-FPM. This is helpful since some server stacks, like a regularly configured LAMP stack, can only manage one PHP version, even though various apps may need multiple versions. Hosting each programme on its own instance is more expensive; combining Apache with PHP-FPM is less expensive.
For heavily trafficked websites, PHP-FPM additionally provides configuration options for stderr and stdout logging, emergency restarts, and adaptive process spawning. In reality, one of the greatest stacks for hosting PHP applications, particularly in terms of performance, is Apache with PHP-FPM.
You will set up two PHP sites on a single instance in this tutorial. Each website will have its own domain and utilize a different PHP version. The first will launch PHP 8.0 at web1.yourdomain.com. The second will deploy PHP 7.4 at web2.yourdomain.com.
Requirements
- CentOS 7 or Redhat Server.
- Apache web server set up and configured.
- Domain name configured to point to our server.
Step 1 : Installing PHP Versions and Apache
First, we will install epel repo and then install Apache with the following commands.
$ sudo yum install epel-release -y
$ sudo yum install httpd
After setting up Apache, we’ll install the Remi repository and then the 80 and 7.4 versions of PHP.
$ sudo yum install http://rpms.remirepo.net/enterprise/remi-release-7.rpm
$ sudo yum install yum-utils
$ sudo yum install php80 php74
$ sudo yum install php80-php-fpm php74-php-fpm
Both versions of PHP are by default listening on port 9000. However, we wish to run two versions simultaneously in this tutorial. Consequently, let’s designate two new ports:
You may do this by opening your preferred text editor, going to /etc/opt/remi/php80/php-fpm.d/www.conf, and changing every instance of 9000 to 9080. Repeat the same for /etc/opt/remi/php74/php-fpm.d/www.conf, replacing 9000 with 9074 this time, then save and close the file. As an alternative, you may create the replacements using these two sed commands:
$ sudo sed -i 's/:9000/:9080/' /etc/opt/remi/php80/php-fpm.d/www.conf
$ sudo sed -i 's/:9000/:9074/' /etc/opt/remi/php74/php-fpm.d/www.conf
Each of your PHP services now has a unique port that has been set aside for them. However, for these changes to function, you must add the ports to your SELinux setup.
Security Enhanced Linux, or SELinux for short, is turned on by default in CentOS 7. Your new ports 9080 and 9074 must be added to your SELinux database and assigned to your httpd services in order for your apps to function. Apply the semanage command to the following action:
$ sudo semanage port -a -t http_port_t -p tcp 9080
$ sudo semanage port -a -t http_port_t -p tcp 9074
The php-fpm services can now be started on different ports.
Now you are ready to start and enable your PHP services. Begin with your php80-php-fpm service and enable it to start at boot:
$ sudo systemctl start php80-php-fpm
$ sudo systemctl enable php80-php-fpm
Check your php80-php-fpm service’s status next:
$ sudo systemctl status php80-php-fpm[root@centos7 ~]# sudo systemctl status php80-php-fpm
● php80-php-fpm.service - The PHP FastCGI Process Manager
Loaded: loaded (/usr/lib/systemd/system/php80-php-fpm.service; enabled; vendor preset: disabled)
Active: active (running) since Fri 2022-08-12 07:16:12 EDT; 14min ago
Main PID: 65544 (php-fpm)
Status: "Processes active: 0, idle: 5, Requests: 0, slow: 0, Traffic: 0req/sec"
CGroup: /system.slice/php80-php-fpm.service
├─65544 php-fpm: master process (/etc/opt/remi/php80/php-fpm.conf)
├─65545 php-fpm: pool www
├─65546 php-fpm: pool www
├─65547 php-fpm: pool www
├─65548 php-fpm: pool www
└─65549 php-fpm: pool www
Aug 12 07:16:12 centos7.linuxvmimages.local systemd[1]: Starting The PHP FastCGI Process Manager...
Aug 12 07:16:12 centos7.linuxvmimages.local systemd[1]: Started The PHP FastCGI Process Manager.Now you are ready to start and enable your PHP services. Begin with your php74-php-fpm service and enable it to start at boot:
$ sudo systemctl start php74-php-fpm
$ sudo systemctl enable php74-php-fpm
Check your php74-php-fpm service’s status next:
$ sudo systemctl status php74-php-fpm[root@centos7 ~]# sudo systemctl status php74-php-fpm
● php74-php-fpm.service - The PHP FastCGI Process Manager
Loaded: loaded (/usr/lib/systemd/system/php74-php-fpm.service; enabled; vendor preset: disabled)
Active: active (running) since Fri 2022-08-12 07:16:20 EDT; 16min ago
Main PID: 65556 (php-fpm)
Status: "Processes active: 0, idle: 5, Requests: 0, slow: 0, Traffic: 0req/sec"
CGroup: /system.slice/php74-php-fpm.service
├─65556 php-fpm: master process (/etc/opt/remi/php74/php-fpm.conf)
├─65557 php-fpm: pool www
├─65558 php-fpm: pool www
├─65559 php-fpm: pool www
├─65560 php-fpm: pool www
└─65561 php-fpm: pool www
Aug 12 07:16:19 centos7.linuxvmimages.local systemd[1]: Starting The PHP FastCGI Process Manager...
Aug 12 07:16:20 centos7.linuxvmimages.local systemd[1]: Started The PHP FastCGI Process Manager.Step 2: Making Directories for Both Websites
In this section, For each of your two websites, you will create an index page and a document root directory.
First we create directories for our websites web1.yourdomain.com and web2.yourdomain.com.
$ sudo mkdir /var/www/web1.yourdomain.com
$ sudo mkdir /var/www/web2.yourdomain.com
The Apache user and group are the default for the Apache web server. Therefore, they should also own /var/www/ and all of its files and subdirectories. Run the following commands to make sure your website’s root folders are owned and have the proper permissions:
$ sudo chown -R apache:apache /var/www/web1.yourdomain.com
$ sudo chown -R apache:apache /var/www/web2.yourdomain.com
$ sudo chmod -R 755 /var/www/web1.yourdomain.com
$ sudo chmod -R 755 /var/www/web2.yourdomain.com
Your two website folders are now owned by the Apache user and group thanks to the chown command. The chmod command modifies that user and group’s and other people’s permissions.
The next step is to create an info.php file in the root directory of each website. This will show the PHP version information for each website. starting with web1.
$ sudo nano /var/www/web1.yourdomain.com/info.phpAdd the next line:
<?php phpinfo(); ?>Save and copy the file, in the second website:
$ sudo cp /var/www/web1.yourdomain.com/info.php /var/www/web2.yourdomain.com/info.phpStep 3 : Apache Configuration for Both Websites
You will build two virtual host configuration files in this step. Your two websites will be able to operate simultaneously with two distinct PHP versions thanks to this.
It is important to construct a virtual host file with the appropriate directives in order for Apache to deliver this content. Within the directory /etc/httpd/conf.d/, two new virtual host configuration files should be created.
First, create a new virtual host configuration file for the website web1.yourdomain.com. Here, you will direct Apache to render content using PHP 8.0:
$ sudo nano /etc/httpd/conf.d/web1.yourdomain.com.confAdd the following code
<VirtualHost *:80>
     ServerAdmin [email protected]
     ServerName web1.yourdomain.com
     DocumentRoot /var/www/web1.yourdomain.com
     DirectoryIndex info.php
     SetHandler "proxy:fcgi://127.0.0.1:9080"
     ScriptAlias /cgi-bin/ "/var/www/cgi-bin/"
     AddHandler php80-fcgi .php
     Action php80-fcgi /cgi-bin/php80.fcgi
     ErrorLog /var/log/httpd/web1.yourdomain.com_error.log
     CustomLog /var/log/httpd/web1.yourdomain.com_access.log combined
</VirtualHost>
Let’s do the same thing for our second server.
$ sudo nano /etc/httpd/conf.d/web2.yourdomain.com.conf<VirtualHost *:80>
ServerAdmin [email protected]
ServerName web2.yourdomain.com
DocumentRoot /var/www/web2.yourdomain.com
DirectoryIndex info.php
SetHandler "proxy:fcgi://127.0.0.1:9074"
ScriptAlias /cgi-bin/ "/var/www/cgi-bin/"
AddHandler php74-fcgi .php
Action php74-fcgi /cgi-bin/php74.fcgi
ErrorLog /var/log/httpd/web2.yourdomain.com_error.log
CustomLog /var/log/httpd/web2.yourdomain.com_access.log combined
</VirtualHost>When you’re done, save and shut the file. After that, look for any syntax mistakes in the Apache configuration file:
$ sudo apachectl configtest[root@centos7 ~]# sudo apachectl configtest
Syntax OKFinally, to apply your modifications, restart the Apache service:
$ sudo systemctl restart httpdLet’s test each site after setting up Apache to serve it to ensure that the appropriate PHP versions are installed.
Step 4 : Testing Our Websites
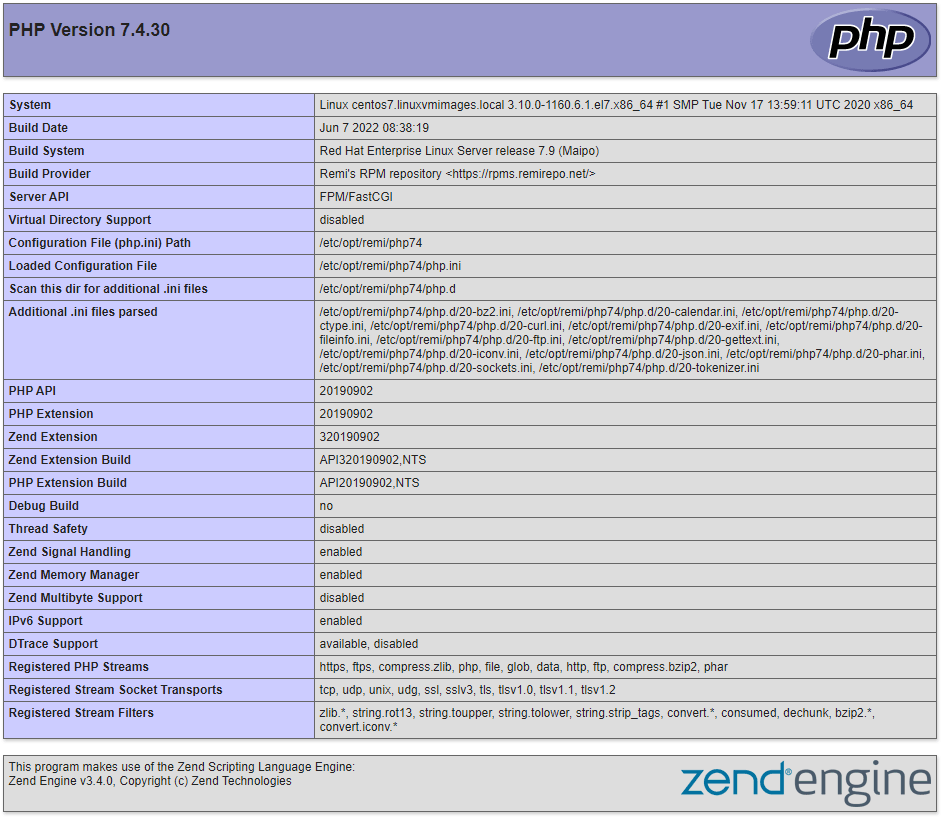
Open your web browser and visit both sites http://web1.yourdomain.com and http://web2.yourdomain.com. You will see two pages that look like this:
http://web1.yourdomain.com/
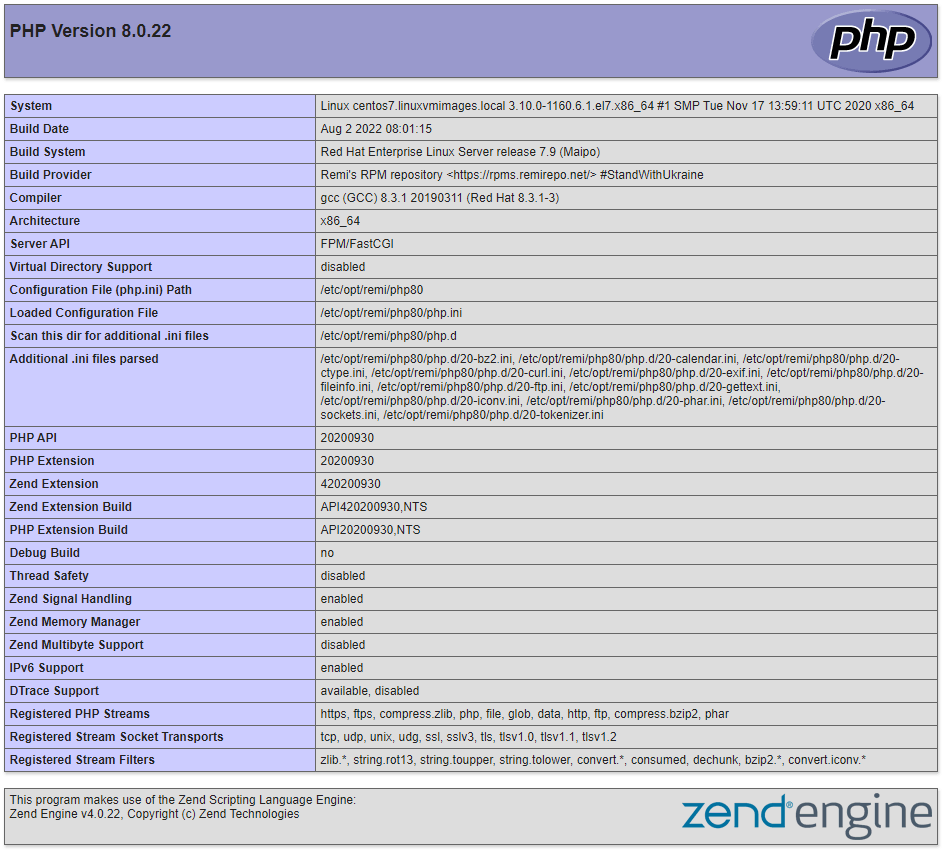
http://web2.yourdomain.com/
Remove the info.php files after testing your websites. They present a security issue because they give unauthorized users access to private information about your server. Get rid of the files:
$ sudo rm -rf /var/www/web1.yourdomain.com/info.php
$ sudo rm -rf /var/www/web2.yourdomain.com/info.php
You now operate two websites using two distinct PHP versions on a single CentOS 7 server. But PHP-FPM is not just for this one application.
Conclusion
Now that virtual hosts and PHP-FPM have been merged, a single server may serve a number of websites and PHP versions. The processing power of your instance is the only real restriction on the amount of PHP sites and PHP versions that your Apache server can support.
2 thoughts on - Using Multiple PHP Versions with Apache on CentOS / RHEL
does not work in my environment,
is this configuration below are valid?
SetHandler “proxy:fcgi://127.0.0.1:9074
ScriptAlias /cgi-bin/ “/var/www/cgi-bin/”
AddHandler php70-fcgi .php
Action php70-fcgi /cgi-bin/php80.fcgi
ErrorLog /var/log/httpd/web2.yourdomain.com_error.log
CustomLog /var/log/httpd/web2.yourdomain.com_access.log combined
because i see the action handler still use php80 for both virtualhost?
Hi,
we made some updates to Config
SetHandler "proxy:fcgi://127.0.0.1:9074"

ScriptAlias /cgi-bin/ "/var/www/cgi-bin/"

AddHandler php74-fcgi .php

Action php74-fcgi /cgi-bin/php74.fcgi

ErrorLog /var/log/httpd/web2.yourdomain.com_error.log

CustomLog /var/log/httpd/web2.yourdomain.com_access.log combined
this snippet should work,
make sure to restart apache after editing configuration
Best regards.