Tomcat is a popular open-source web server that supports Java Servlets and JSPs. In this tutorial, you will learn how to install Tomcat on Ubuntu 18.04, 20.04 & 22.04. It’s also available for Debian OS.
Prerequisites
Before you start, make sure you have:
- A non-root user with sudo privileges
- Java 8 or higher installed on your system
- A stable internet connection
Step 1: Install Java
Install Java 8 or higher, which is required by Tomcat 9. You can use either OpenJDK or Oracle JDK. To install OpenJDK 11, run:
$ sudo apt update sudo apt install openjdk-11-jdkStep 2: Download Tomcat
To download Tomcat, go to the official website and choose the latest version of Tomcat 9. At the time of writing this article, it was 9.0.72.
Copy the link address of the tar.gz file under Binary Distributions > Core section.
Then, open a terminal and use wget command to download the file:
$ wget https://dlcdn.apache.org/tomcat/tomcat-9/v9.0.86/bin/apache-tomcat-9.0.86.tar.gzStep 3: Extract Tomcat
After downloading Tomcat, you need to extract it to a desired location. For this tutorial, we will use /opt/tomcat as the destination folder.
First, create a tomcat directory under /opt:
$ sudo mkdir /opt/tomcatThen, extract the downloaded file using tar command:
$ sudo tar xzvf apache-tomcat-*.tar.gz -C /opt/tomcat --strip-components=1This will create several subdirectories under /opt/tomcat such as bin, conf, webapps etc.
Step 4: Configure Tomcat User
To access the Tomcat web interface and manage your applications, you need to create a user with proper roles.
To do that, open the tomcat-users.xml file in your preferred text editor:
$ sudo nano /opt/tomcat/conf/tomcat-users.xmlThen, add a user element inside the tomcat-users element with username, password, and roles attributes. For example
<tomcat-users>
<!-- ... -->
    <user username="admin" password="password" roles="manager-gui,admin-gui"/>
</tomcat-users>
Save and close the file when you are done.
Step 5: Start Tomcat
To start Tomcat, you can use the startup.sh script located in /opt/tomcat/bin directory:
$ sudo sh /opt/tomcat/bin/startup.sh You should see something like this:
Using CATALINA_BASE:   /opt/tomcat
Using CATALINA_HOME:   /opt/tomcat
Using CATALINA_TMPDIR: /opt/tomcat/temp
Using JRE_HOME:        /usr/lib/jvm/java-11-openjdk-amd64/
Using CLASSPATH:       /opt/tomcat/bin/bootstrap.jar:/opt/tomcat/bin/tomcat-juli.jar
Tomcat started.
You can also check if Tomcat is running by using ps command:
$ ps -ef | grep tomcatShutdown the server and go to Next step
$ sudo sh /opt/tomcat/bin/shutdown.shStep 6: Create a Tomcat User and Group
For security reasons, it is recommended to create a unique user and group for running the Tomcat service. To do this, first create a new tomcat group by running the following command:
$ sudo groupadd tomcatNext, create a new tomcat user that is a member of the tomcat group and has /opt/tomcat as its home directory. This user will be used to run the Tomcat service. To create this user, run the following command:
$ cd /opt/tomcat
$ sudo useradd -s /bin/false -g tomcat -d /opt/tomcat tomcat
First, give ownership of the entire installation directory to the tomcat group with this command:
$ sudo chgrp -R tomcat /opt/tomcatNext, give read access to conf directory and execute access to its parent directory:
$ sudo chmod -R g+r conf
$ sudo chmod g+x conf
Last but not least, make sure that tomcat user owns webapps/, work/, temp/ and logs/ directories:
$ sudo chown -R tomcat webapps/ work/ temp/ logs/Step 7: Create a systemd Unit File
We will need to create a new unit file to run Tomcat as a service.
Open your text editor and create a file name tomcat.service in the /etc/systemd/system/:
$ sudo nano /etc/systemd/system/tomcat.serviceNext, paste the following configuration:
[Unit]
Description=Apache Tomcat Web Application Container
After=network.target
[Service]
Type=forking
Environment=JAVA_HOME=/usr/lib/jvm/java-11-openjdk-amd64/
Environment=CATALINA_PID=/opt/tomcat/temp/tomcat.pid
Environment=CATALINA_Home=/opt/tomcat
Environment=CATALINA_BASE=/opt/tomcat
Environment=’CATALINA_OPTS=-Xms512M -Xmx1024M -server -XX:+UseParallelGC’
Environment=’JAVA_OPTS.awt.headless=true -Djava.security.egd=file:/dev/v/urandom’
ExecStart=/opt/tomcat/bin/startup.sh
ExecStop=/opt/tomcat/bin/shutdown.sh
User=tomcat
Group=tomcat
UMask=0007
RestartSec=10
Restart=always
[Install]
WantedBy=multi-user.target
Save and close the file after finishing the given commands above. Next, notify the system that you have created a new file by issuing the following command in the command line:
sudo systemctl daemon-reloadThe following commands will allow you to execute the Tomcat service:
$ sudo systemctl start tomcat
$ sudo systemctl enable tomcat
Step 8: Test Tomcat
To test if Tomcat is working properly,
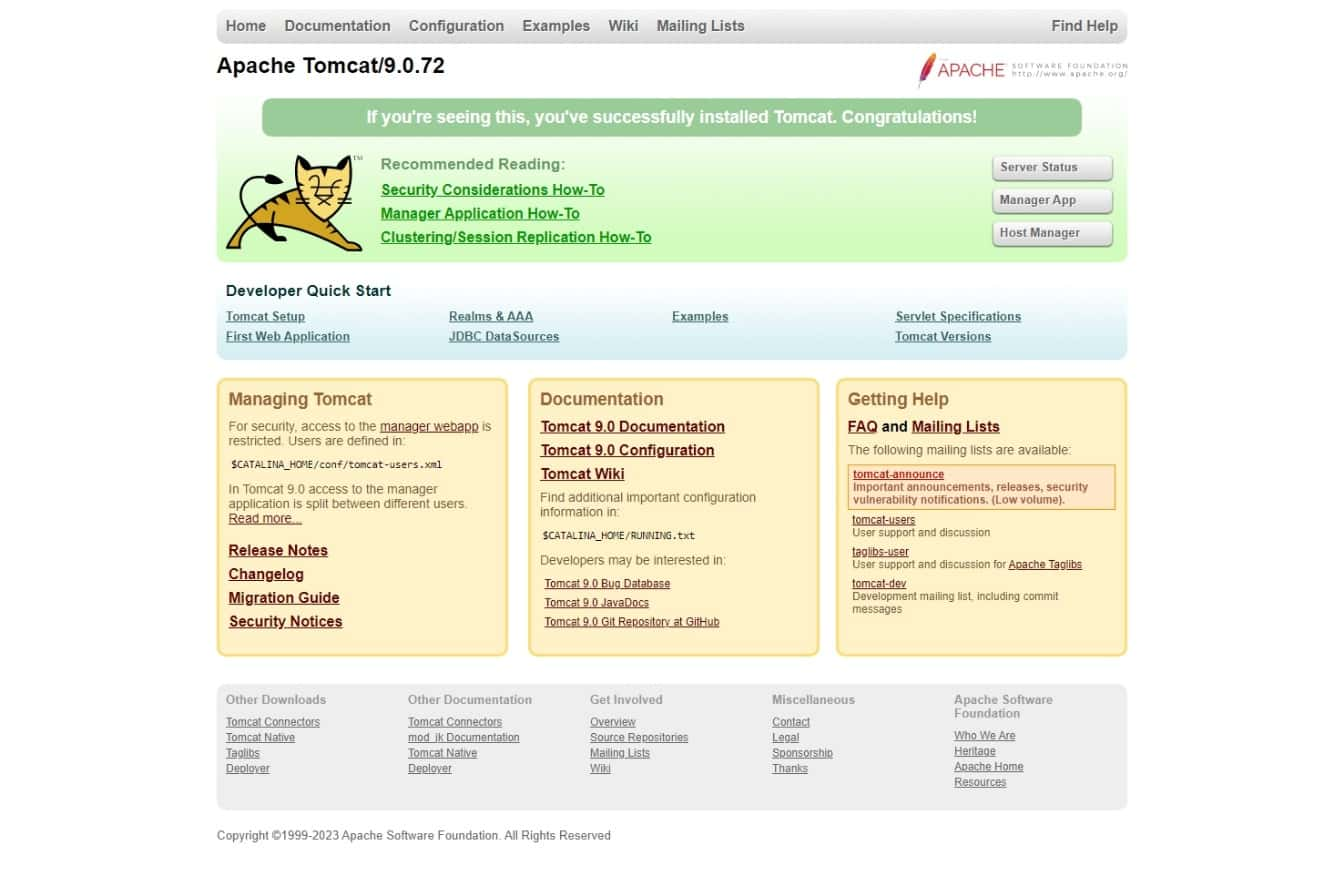
open your web browser and type http://your_server_ip:8080 in the address bar.
You should see the default Tomcat homepage:

To access Tomcat’s web interface, click on the Manager App button and enter the username and password you created in Step 4.
You should see a page that shows your deployed applications and allows you to manage them: Congratulations! You have successfully installed Tomcat on Ubuntu 20.04.

4 thoughts on - How to Install Tomcat on Ubuntu
https://dlcdn.apache.org/tomcat/tomcat-9/v9.0.72/bin/apache-tomcat-9.0.72.tar.gz
not found, please try first then create your article
As of the date of the article publishing the link was valid,
we updated the article link to accommodate the new version published of tomcat.
give http 404 error after follwolling this all steps
404 Error Means that you dont have a valid html file in the public location.
Please check your paths and configuration again you may have missed a step.