Introduction
Hyper-V is Microsoft’s native hypervisor for running virtual machines on Windows. With Hyper-V, you can create and manage virtual environments on Windows Server to efficiently utilize your hardware resources and provide flexibility for different workloads.
In this comprehensive guide, we will walk you through the entire process of setting up and managing Hyper-V virtual environments on Windows Server. We will cover the basics of Hyper-V architecture, creating your first virtual machine, networking configuration, storage options, virtual machine management, backup and disaster recovery, security considerations, and more.
By the end of this guide, you will have the skills and knowledge needed to create and optimize virtual environments with Hyper-V on Windows Server. Whether you need to set up test environments, consolidate servers, run legacy workloads, or provide infrastructure for developers – Hyper-V provides a robust and cost-effective virtualization solution.
Prerequisites
Before we begin setting up Hyper-V, let’s go over the prerequisites:
- Hardware that supports virtualization – Intel VT or AMD-V CPU extensions. You can verify this in the BIOS.
- Windows Server OS installed – Hyper-V role is available on Windows Server 2008, 2012, 2016, 2019, and newer. We will be using Windows Server 2019 in this guide.
- Sufficient resources – CPU cores, RAM, and disk space for running the intended workloads. A good starting point is 4 cores, 8 GB RAM, and 100 GB disk space.
Enable Hyper-V Role
The first step is to enable the Hyper-V role on your Windows Server installation.
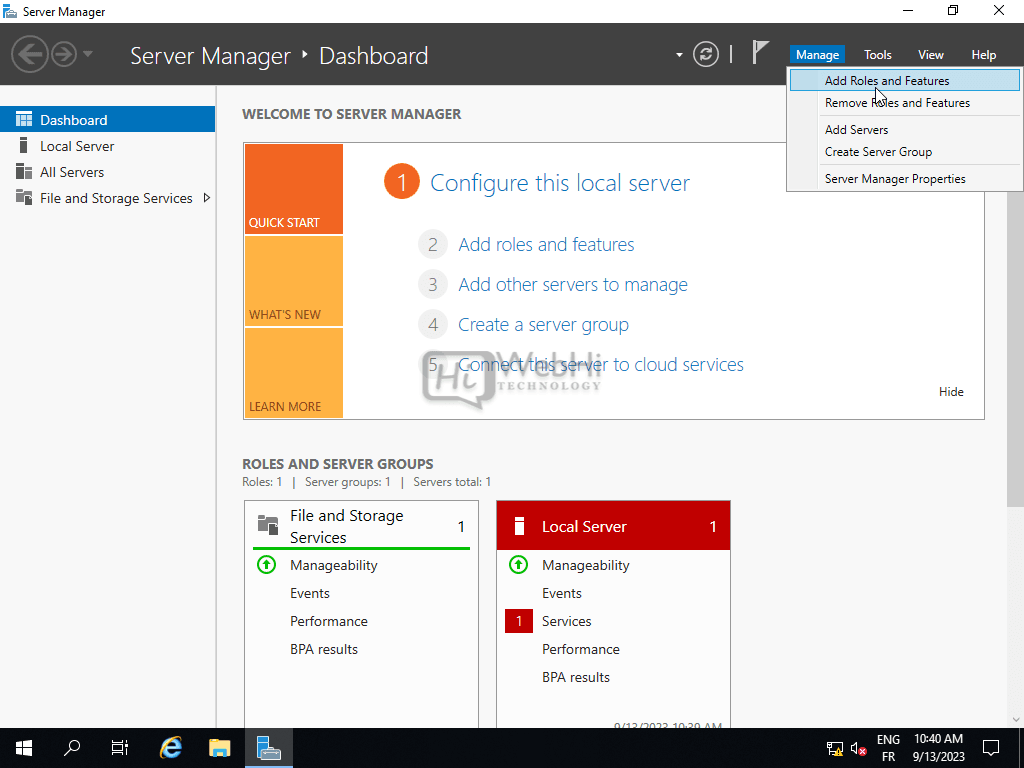
- Open Server Manager and click “Manage” to add roles and features.
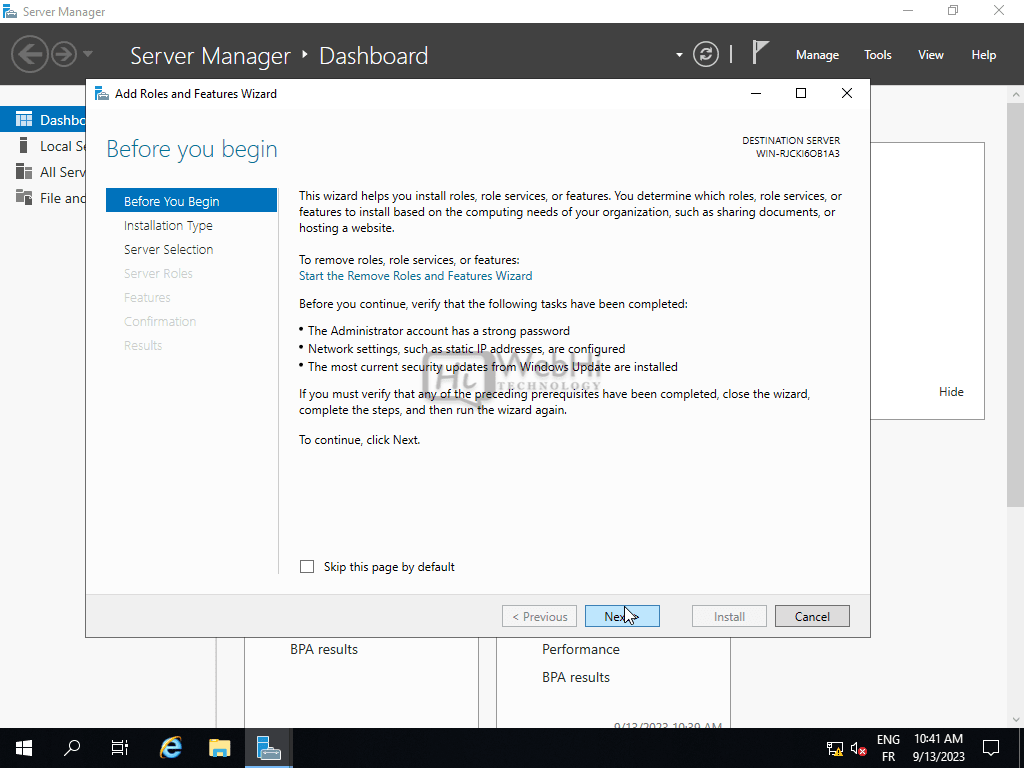
- In the Add Roles and Features Wizard, click Next on the Before You Begin page.
- On the Installation Type page, leave Role-based or feature-based installation selected and click Next.

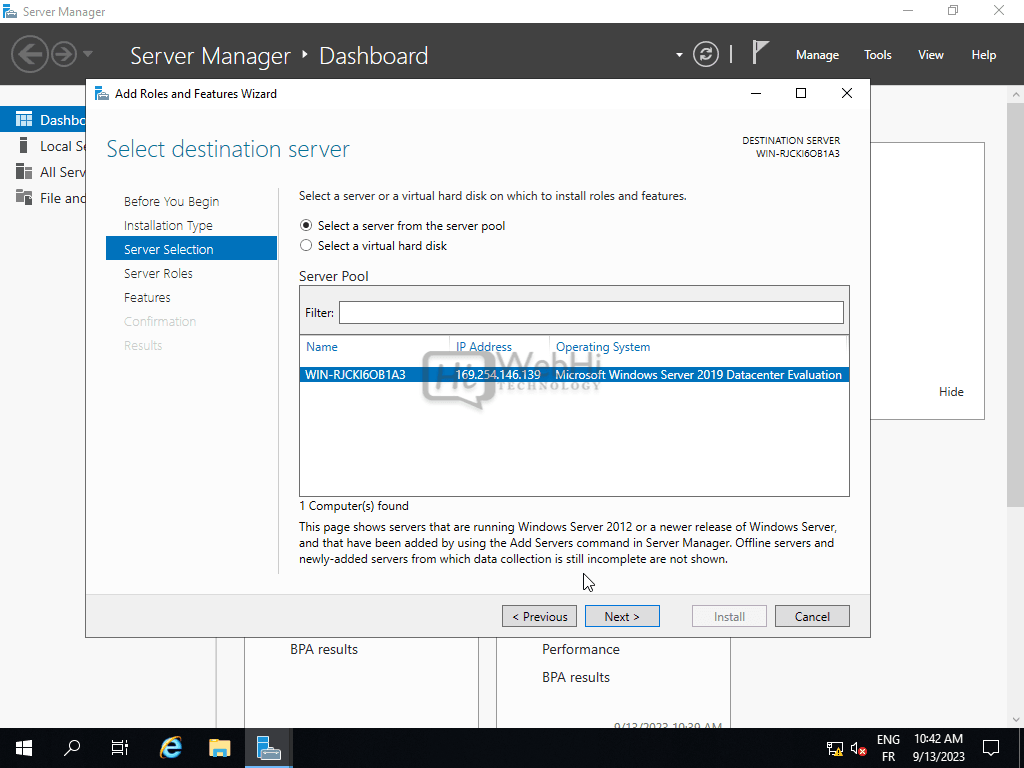
- On the Server Selection page, select your server and click Next.
- On the Server Roles page, check Hyper-V and click Next.
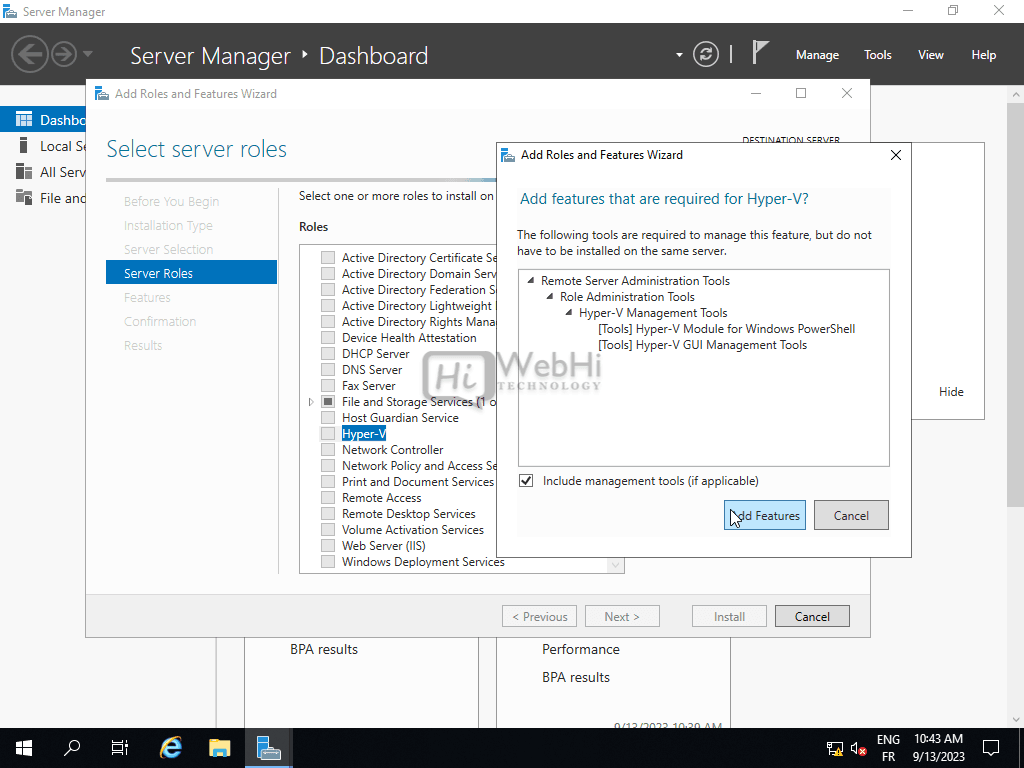
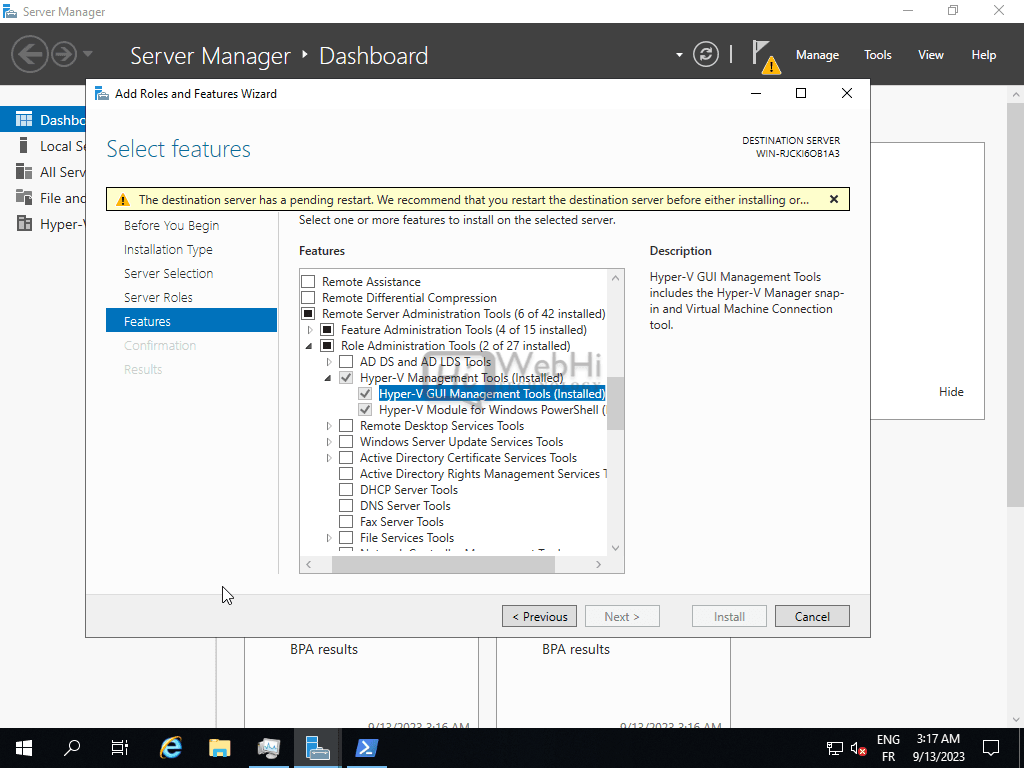
- On the Features page, accept the defaults and click Next.
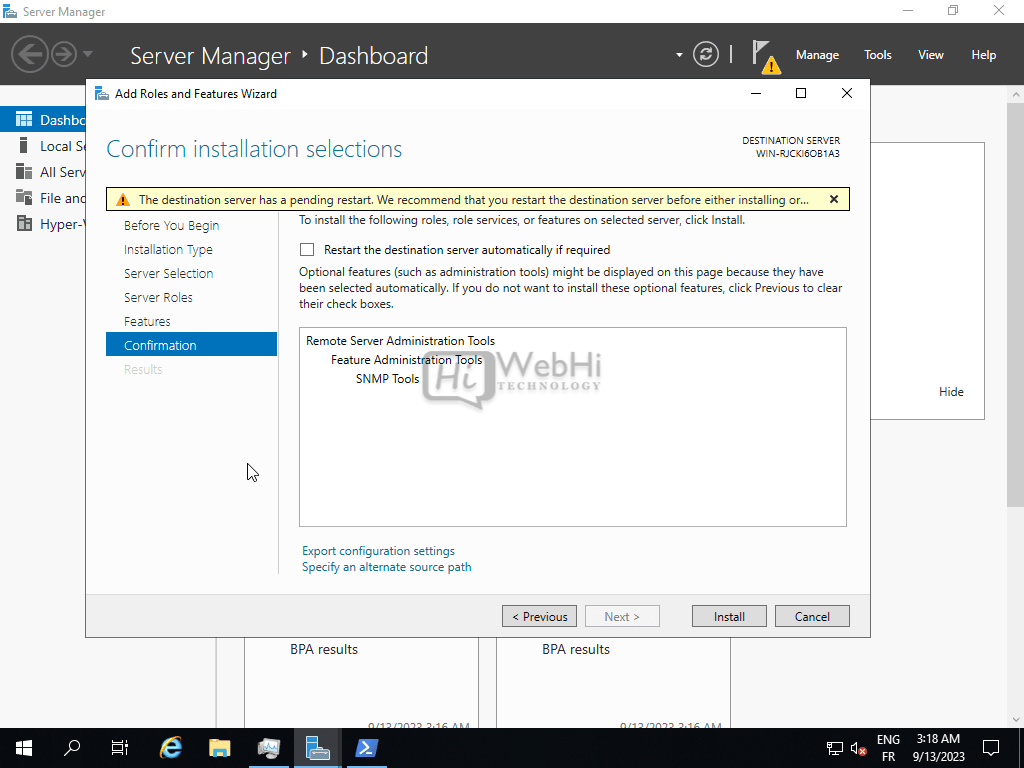
- On the Confirmation page, click Install to begin installing the Hyper-V role and management tools.
- Once the installation completes, click Close to exit the wizard.
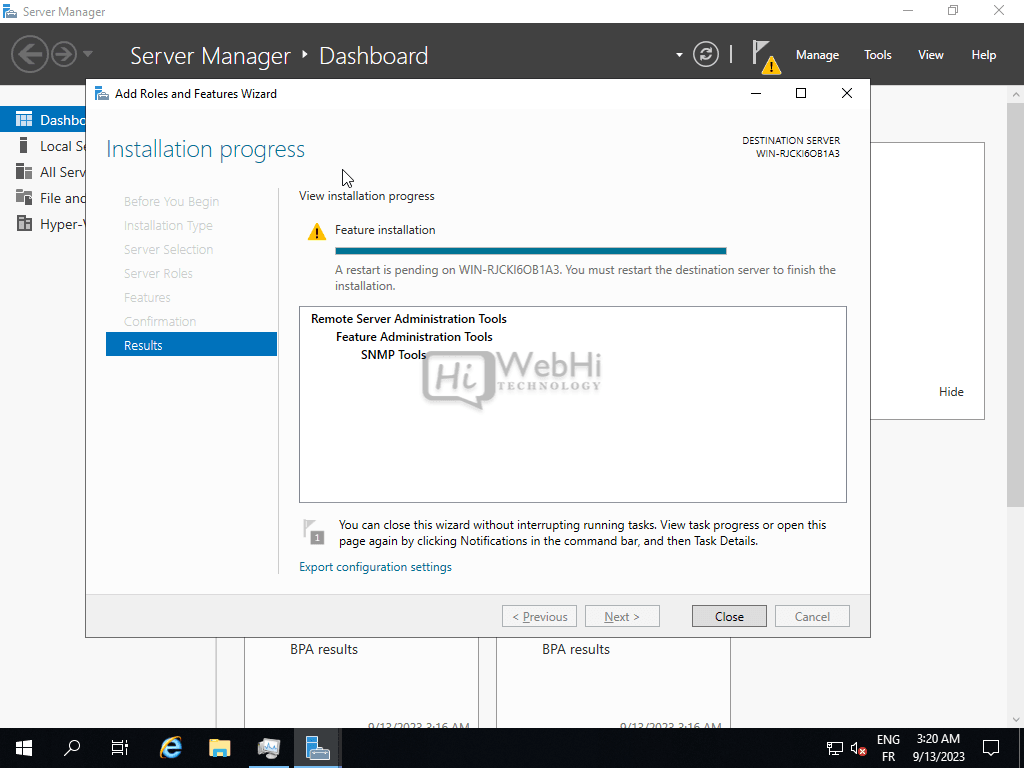
- You may need to restart the server for changes to take effect.
Hyper-V role and management tools are now installed and ready to be configured.
Create Virtual Switch
Before creating any virtual machines, we need to set up a virtual network switch to connect the VMs to. This virtual switch acts similarly to a physical switch, providing network connectivity and routing for virtual machines.
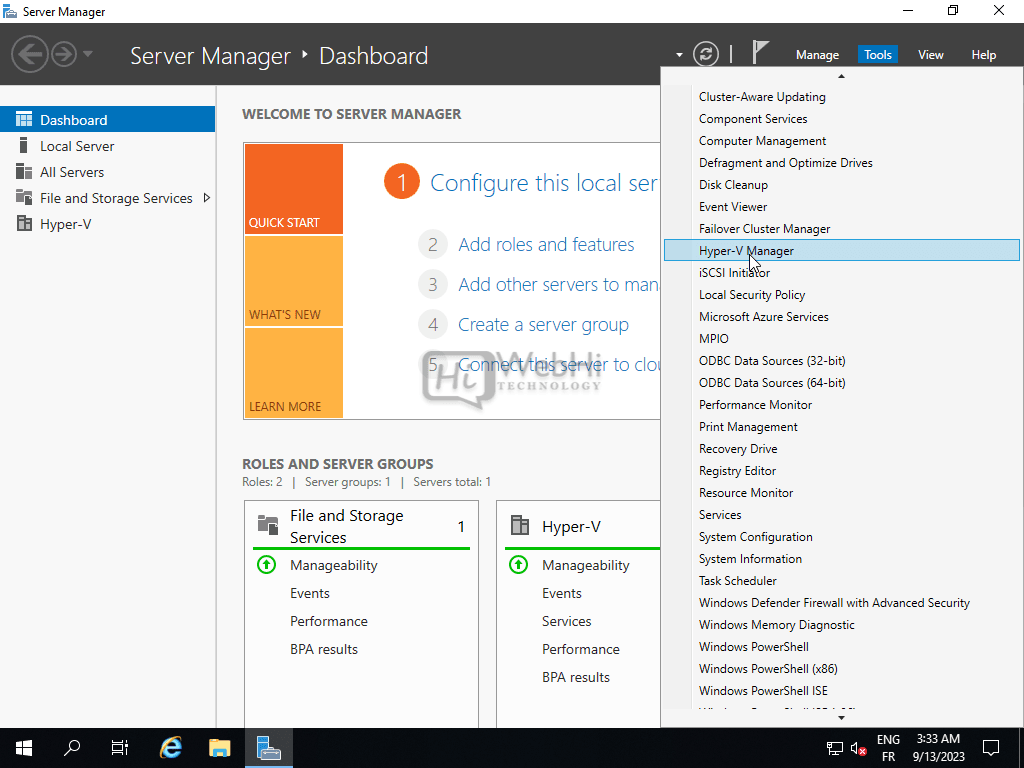
- Open Hyper-V Manager from the Tools menu in Server Manager.
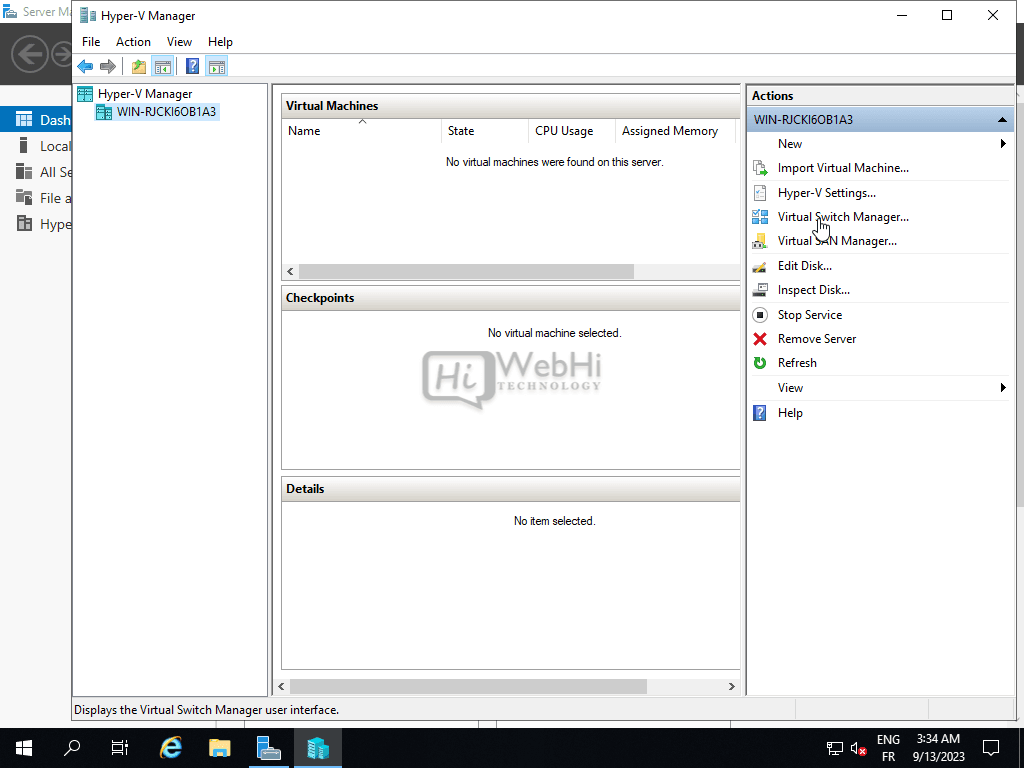
- In the Actions pane on the right, click Virtual Switch Manager.
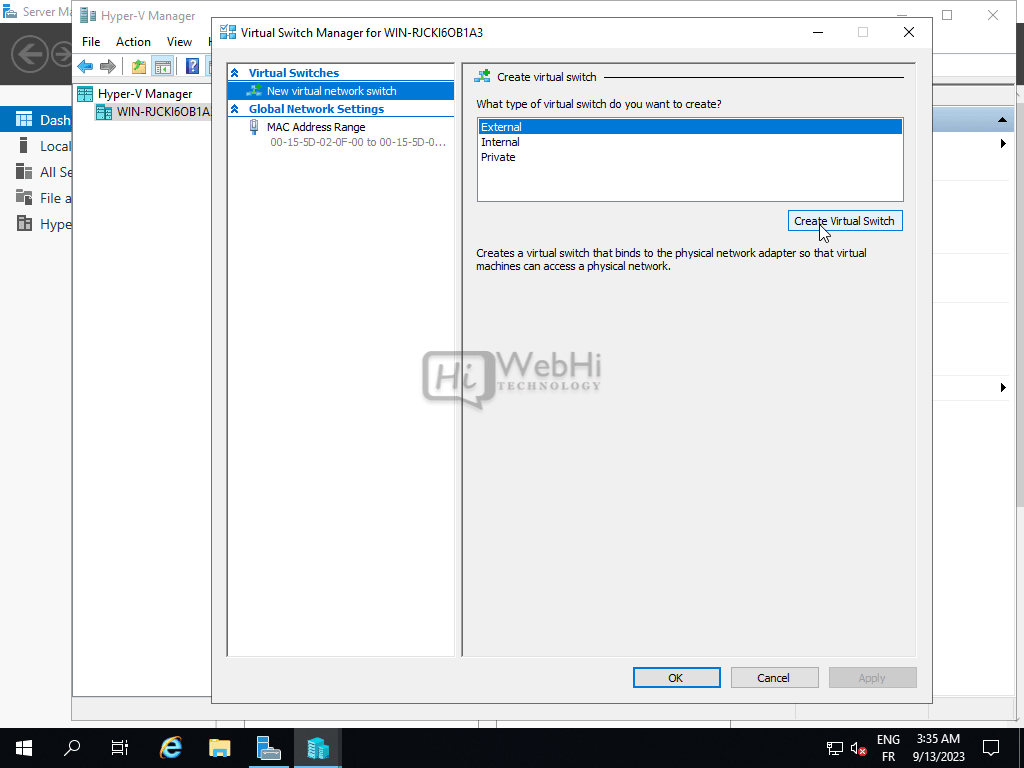
- Click New virtual network switch.
- Select the type of virtual switch you want to create. We will use an External network, which allows VMs to access a physical network.
- Click Create Virtual Switch.
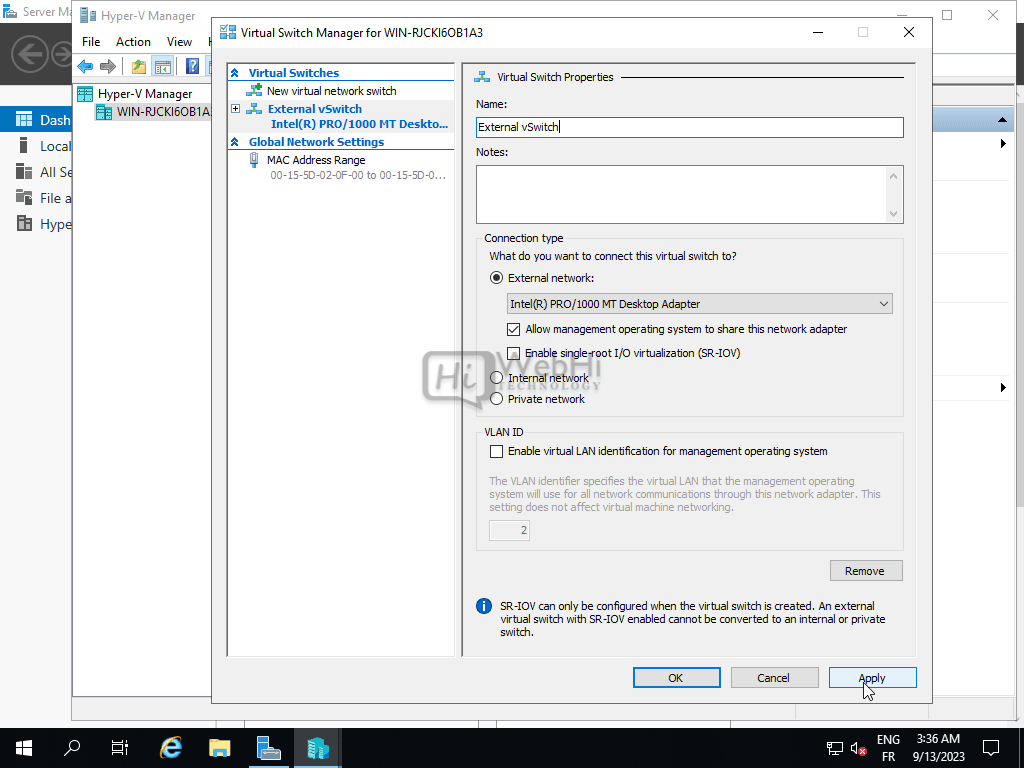
- Give the virtual switch a name like “External vSwitch” and select the physical network interface it should bind to.
- Click Apply.
We now have a virtual switch set up that can route traffic between the virtual machines and the physical network.
Create Virtual Machine
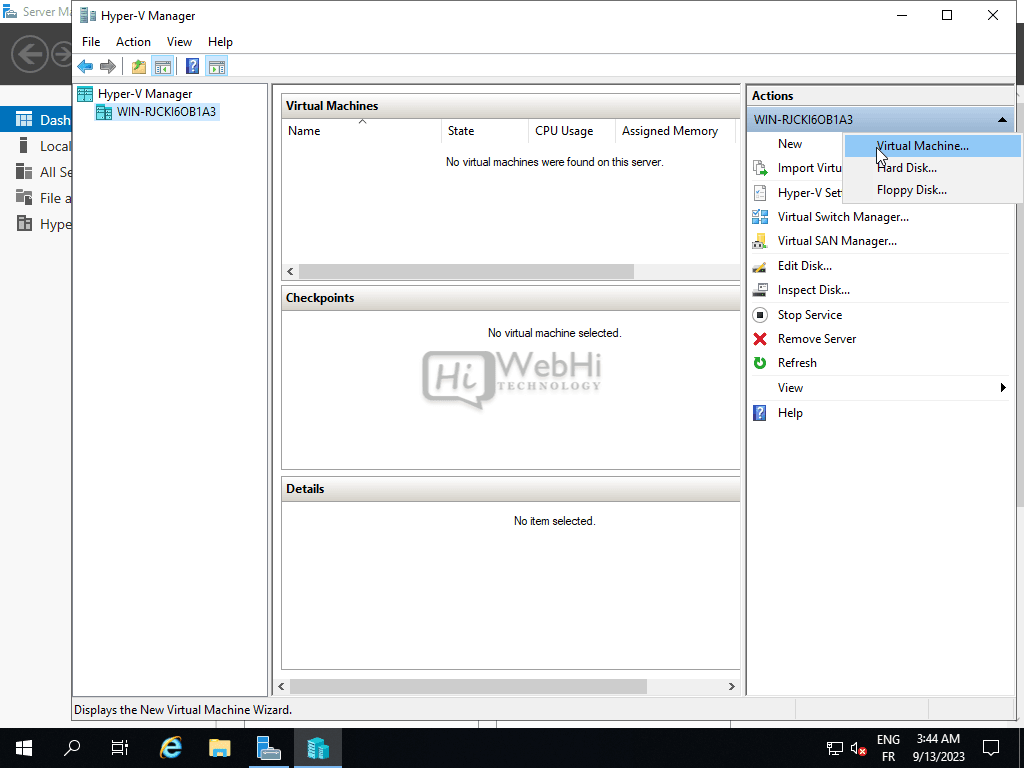
Now we can create our first virtual machine using the Hyper-V Manager console.
- In the Hyper-V Manager, click New in the right Actions pane.
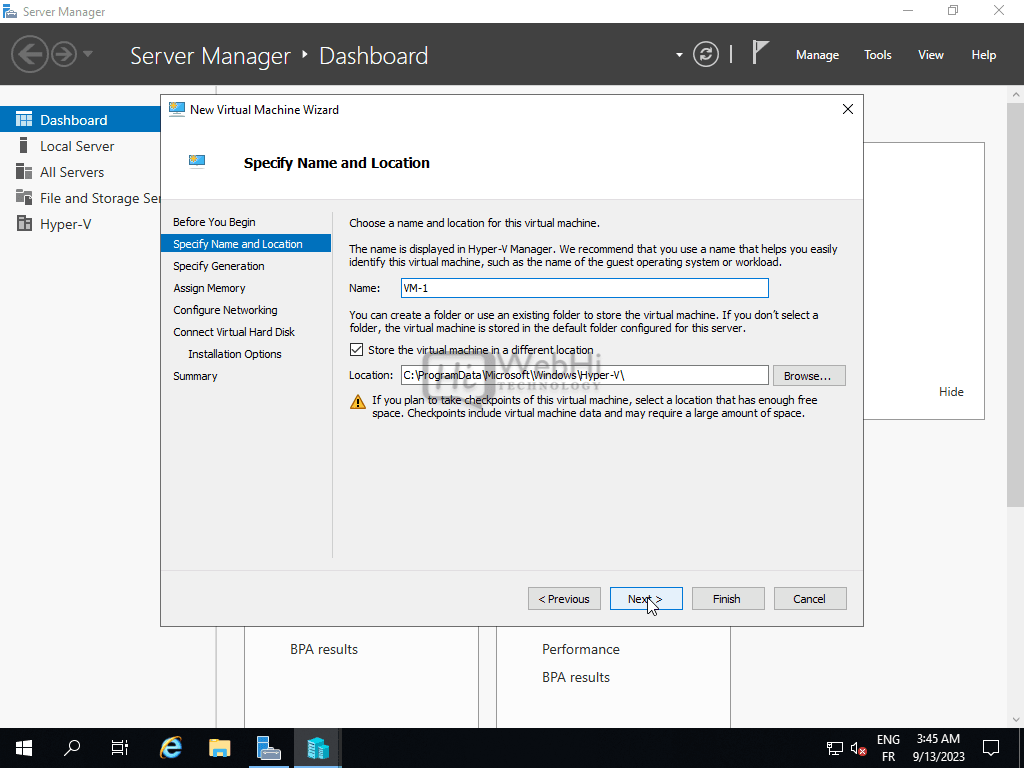
- On the New Virtual Machine Wizard, click Next on the Before You Begin page.
- On the Specify Name and Location page, give the VM a name like “VM-1” and choose where its configuration files will be stored. Click Next.
- Choose the generation of the virtual machine.

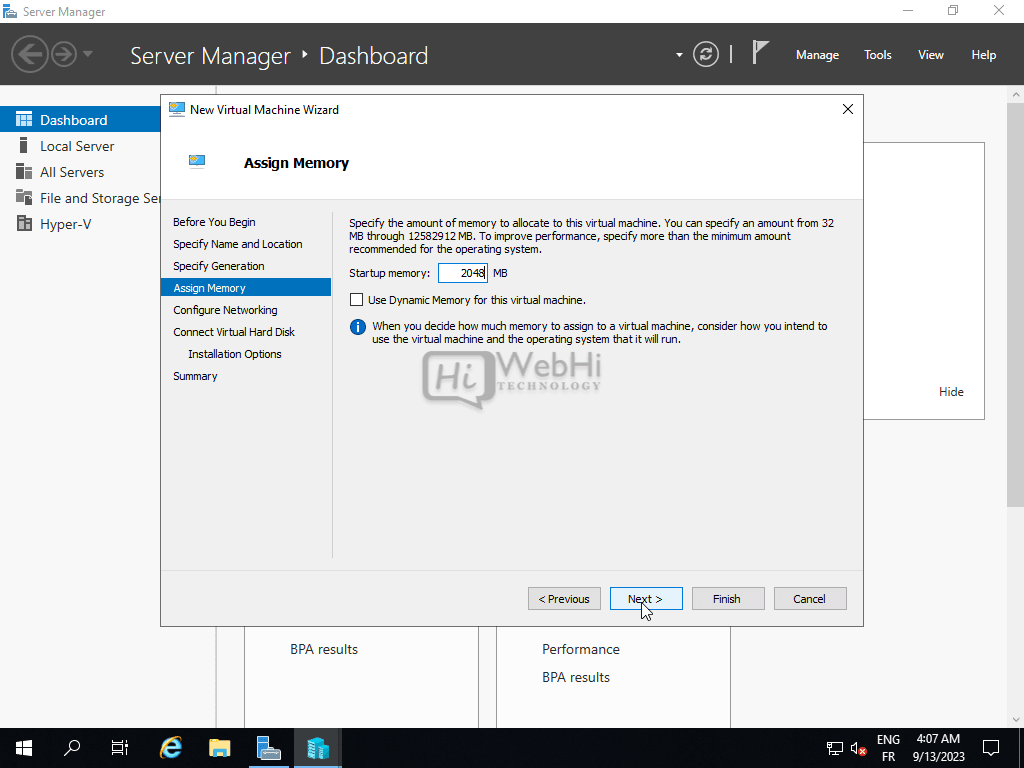
- On the Assign Memory page, allocate startup RAM such as 2048 MB. Click Next.
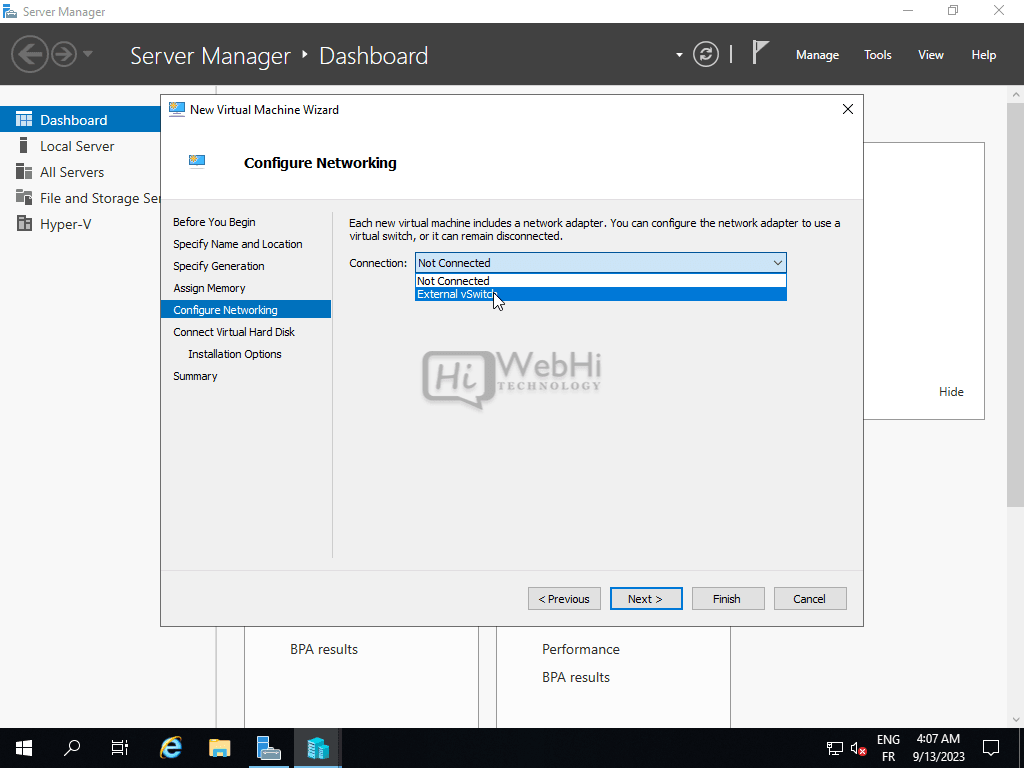
- On the Configure Networking page, select the virtual switch we just created. Click Next.
- On the Connect Virtual Hard Disk page, leave the option to Create a virtual hard disk unchecked since we will add one later. Click Next.
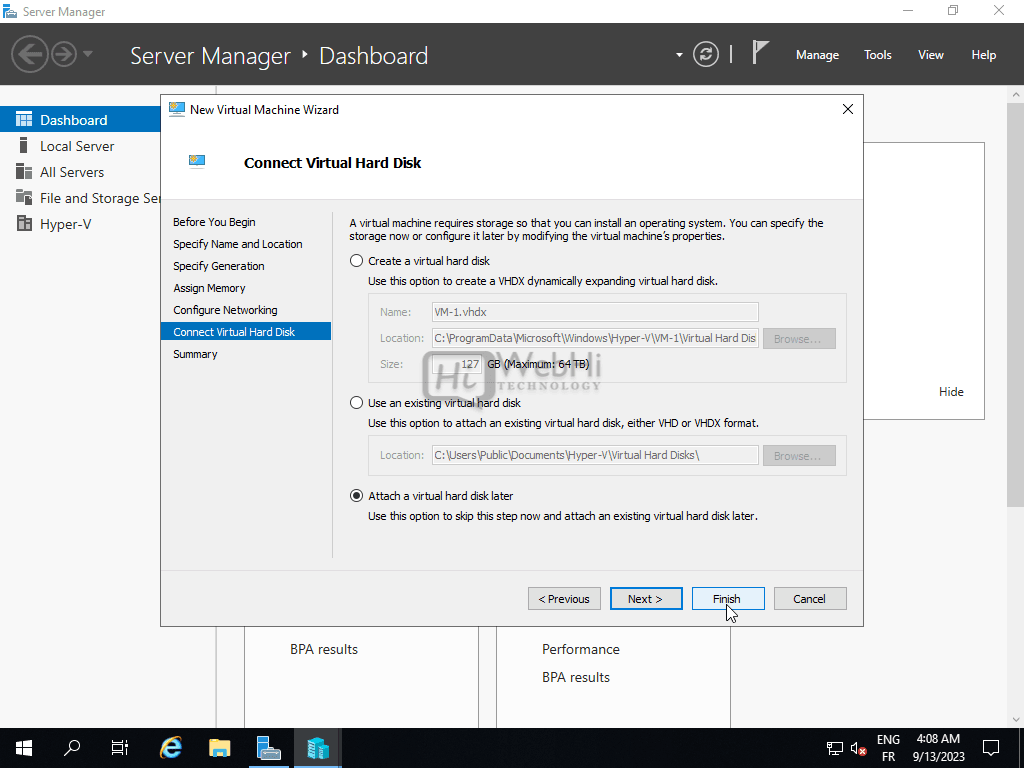
- On the Summary page, verify the details and click Finish to create the virtual machine.
The new VM will now show up in the Virtual Machines list in Hyper-V Manager.
Configure Virtual Machine
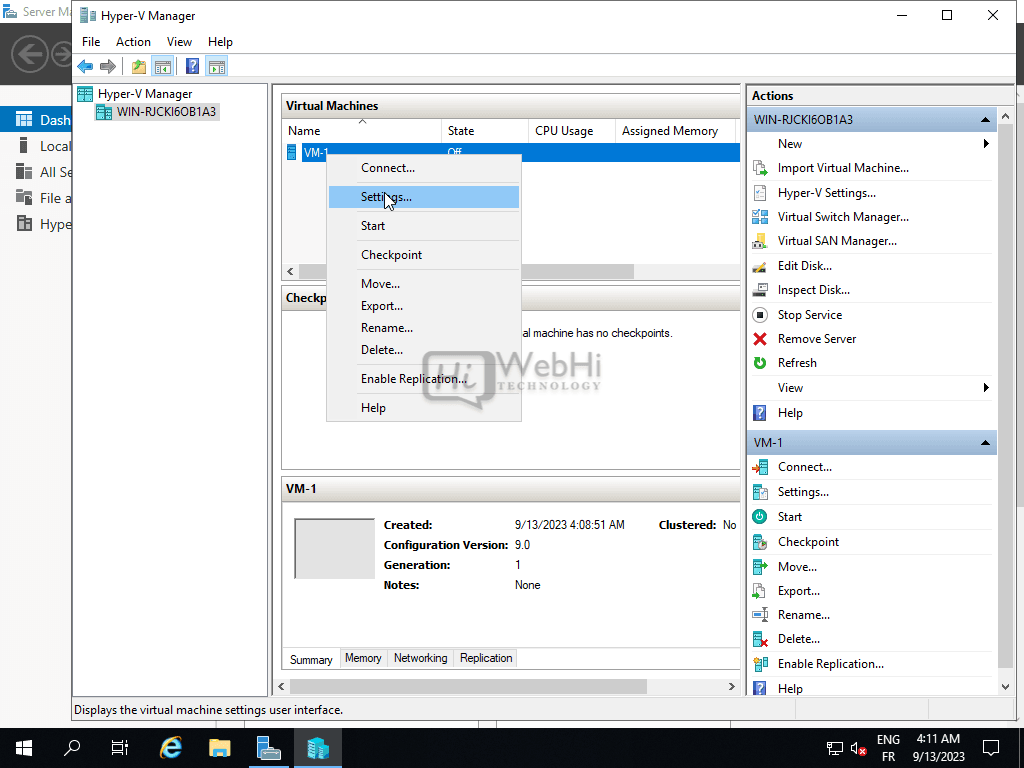
With the virtual machine created, we can now configure additional options and resources before starting it up.
- Right-click the VM and select Settings.
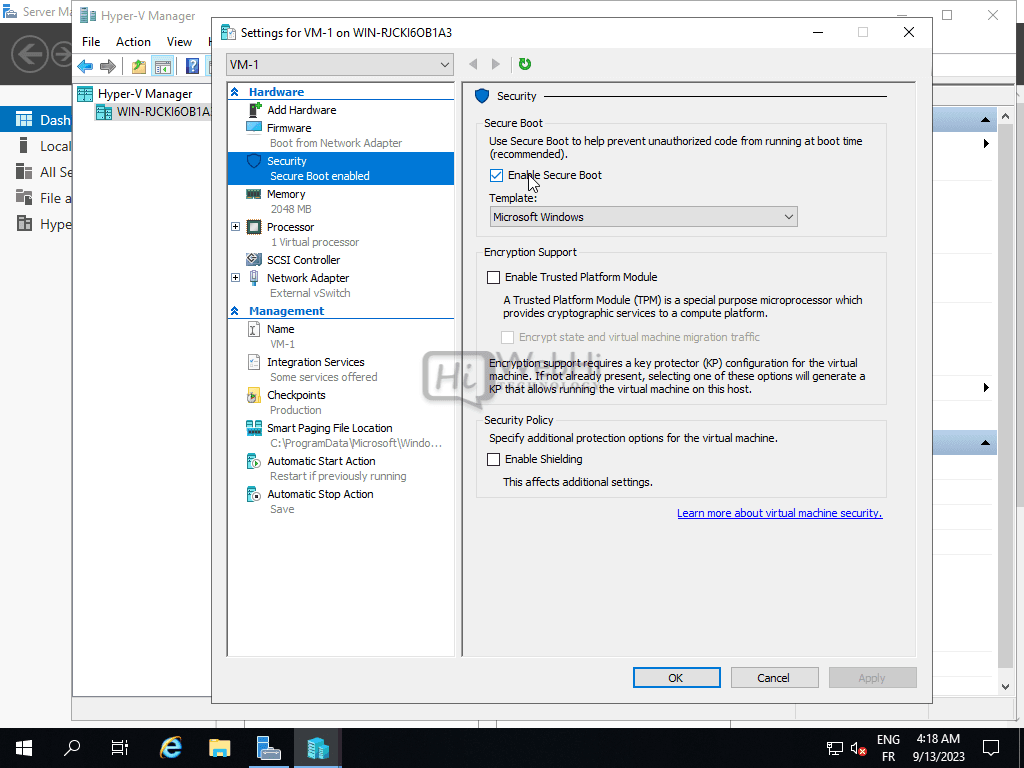
- In the Settings window, go to Security and enable Secure Boot if desired. Click OK.
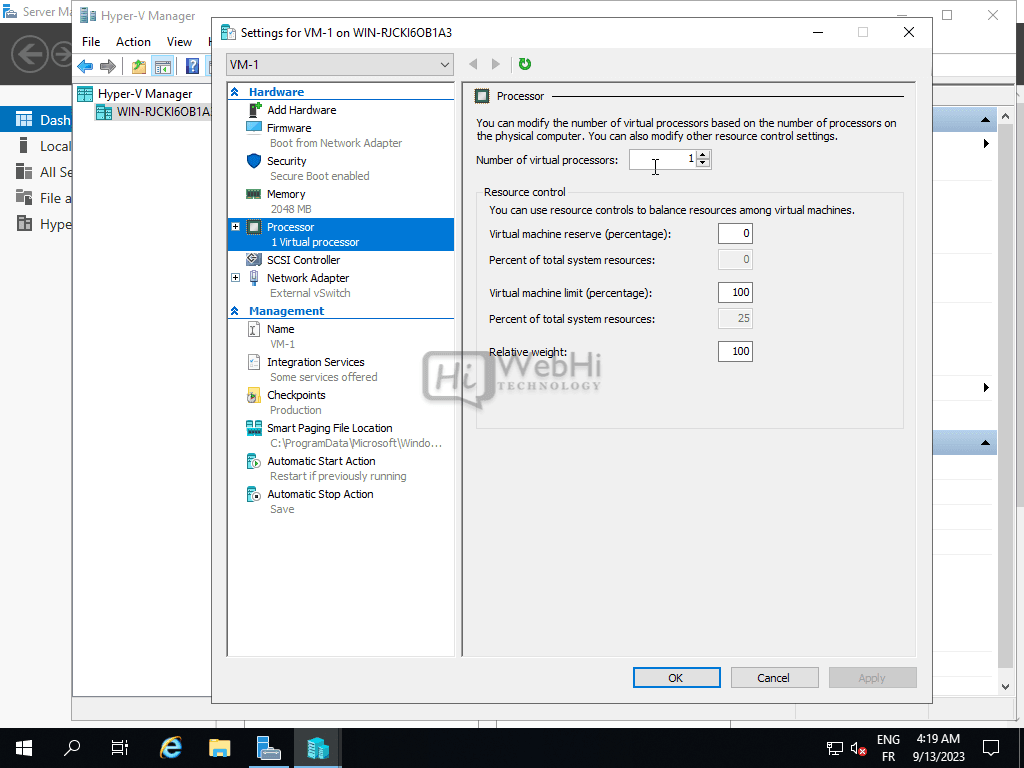
- Under Processor in Settings, adjust the Number of virtual processors if needed. Click Apply.
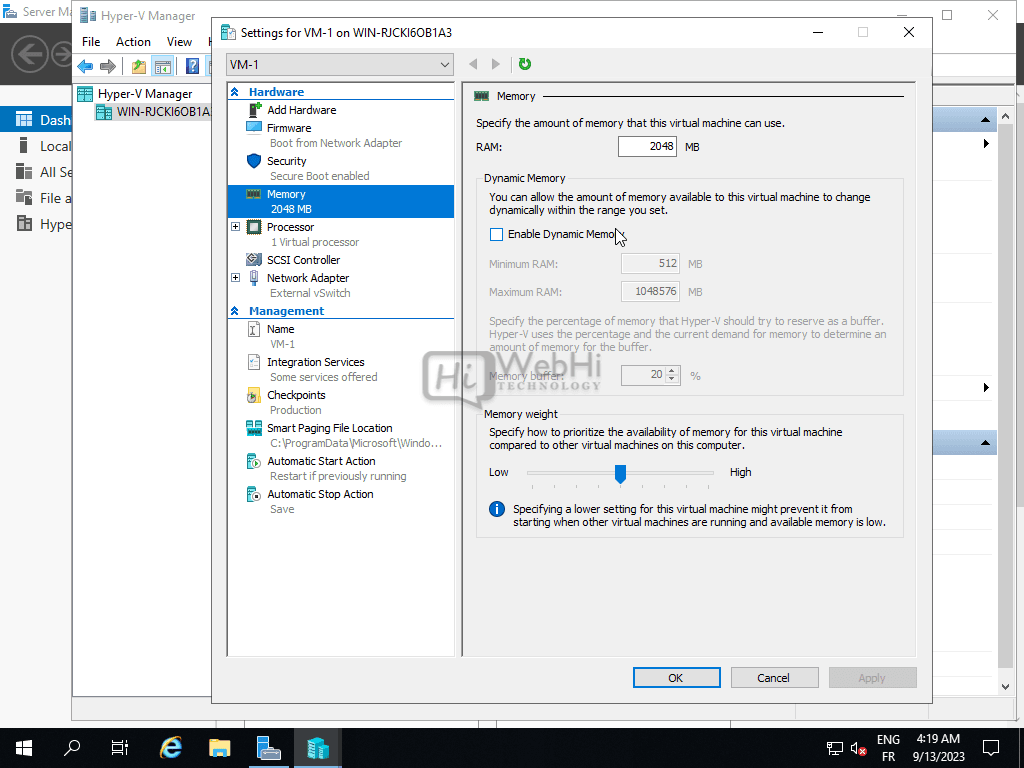
- Under Memory, change Startup RAM if needed. Click Apply.
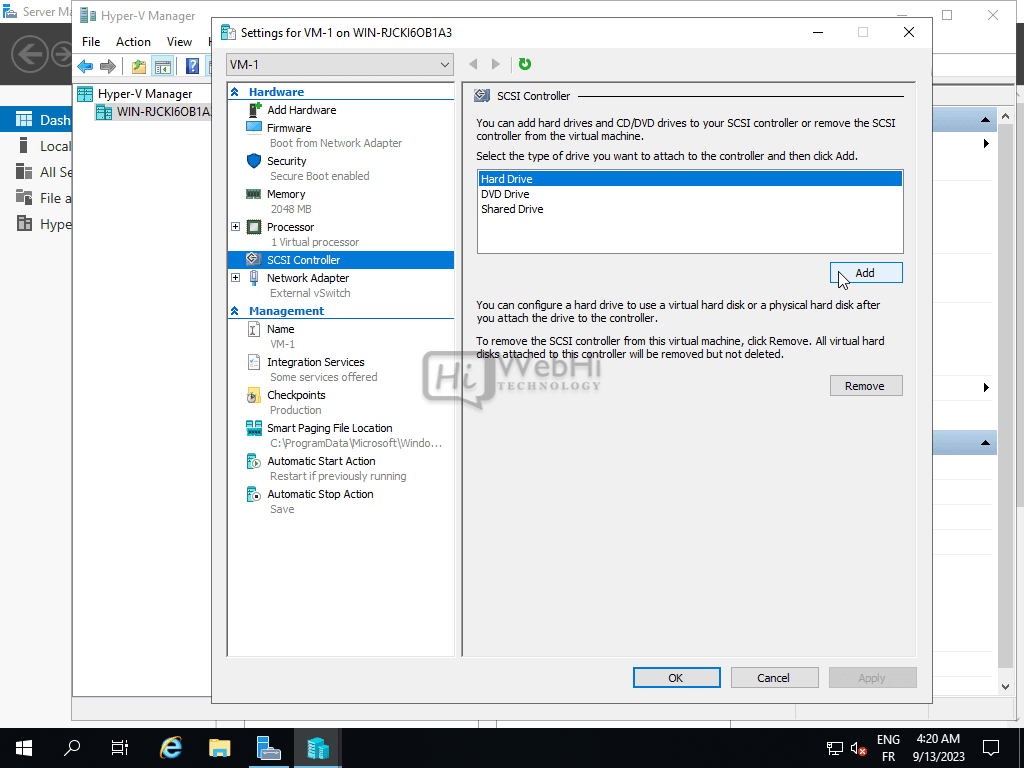
- Go to the SCSI Controller and choose to add a Hard Drive.
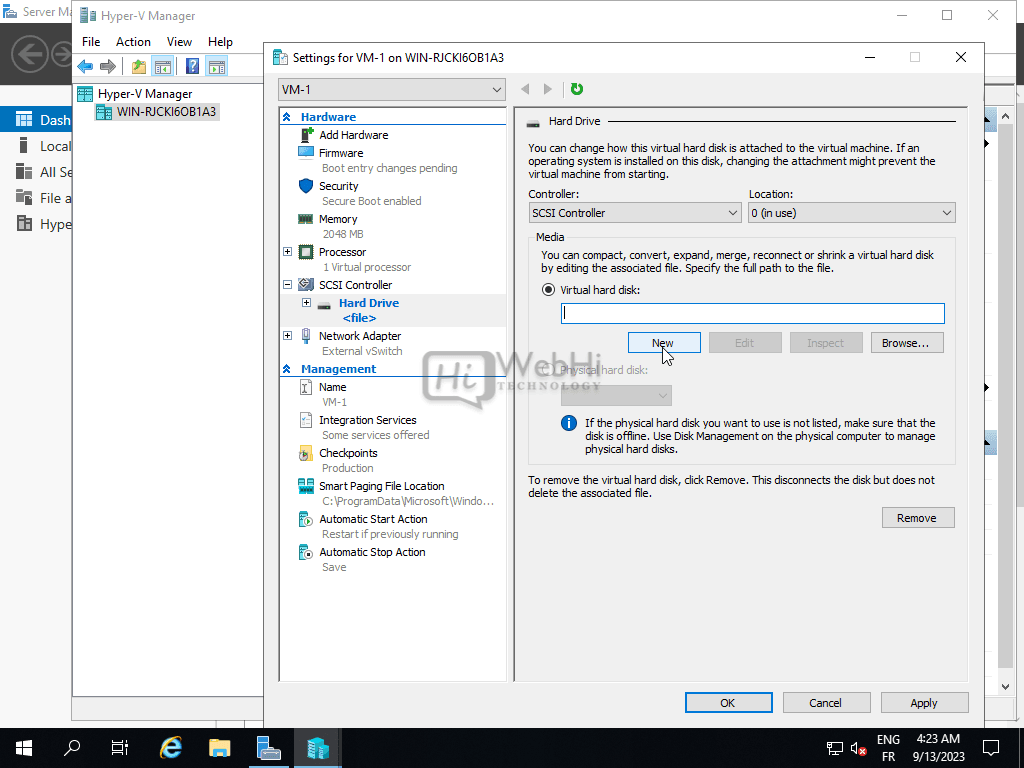
- On the Hard Disk page, select Virtual hard disk and choose a name and location for the VHDX disk file. Set the desired disk size.
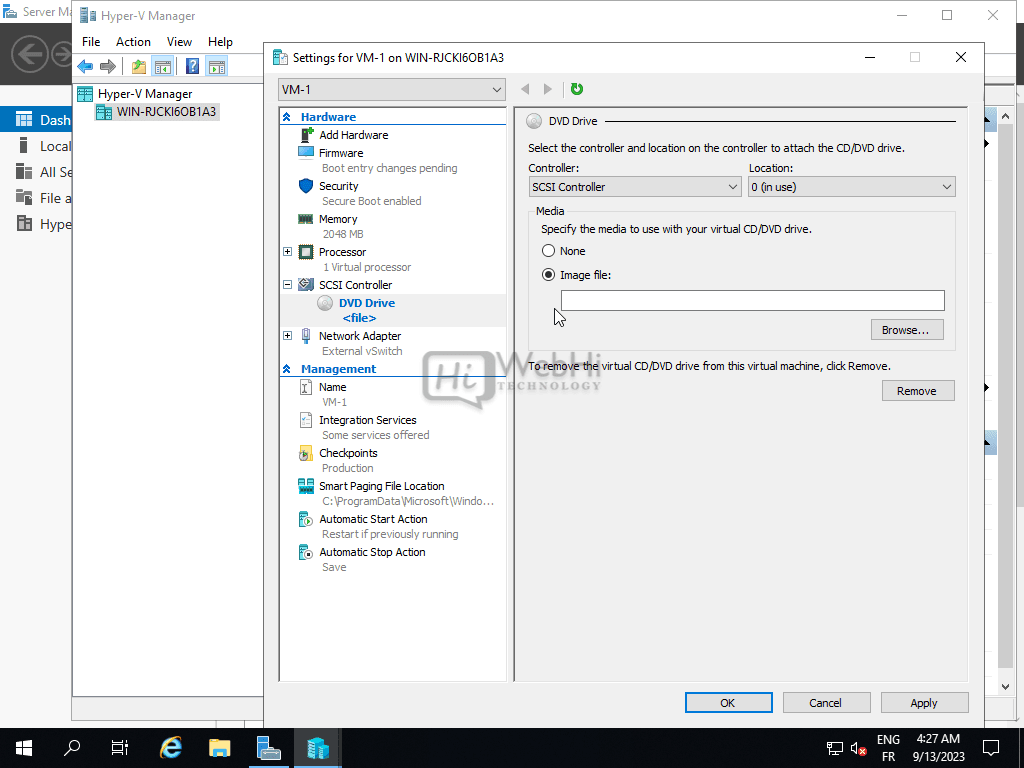
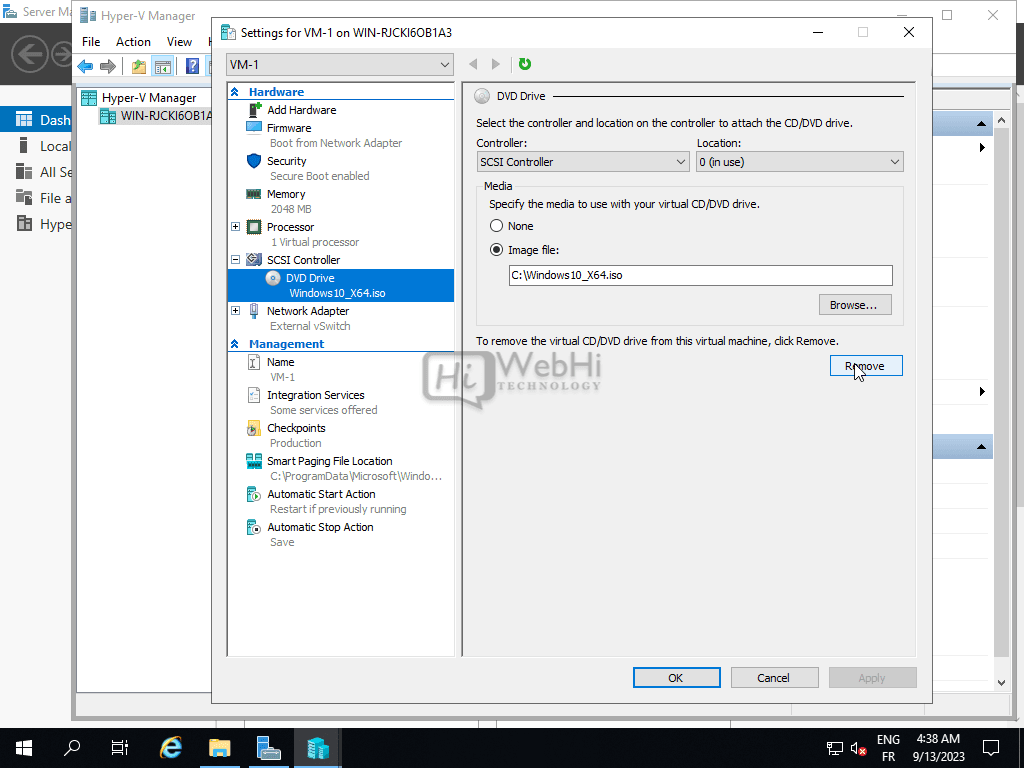
- Go to the SCSI Controller choose to add a DVD Drive, and choose to insert the installation media for the OS, such as a Windows ISO.
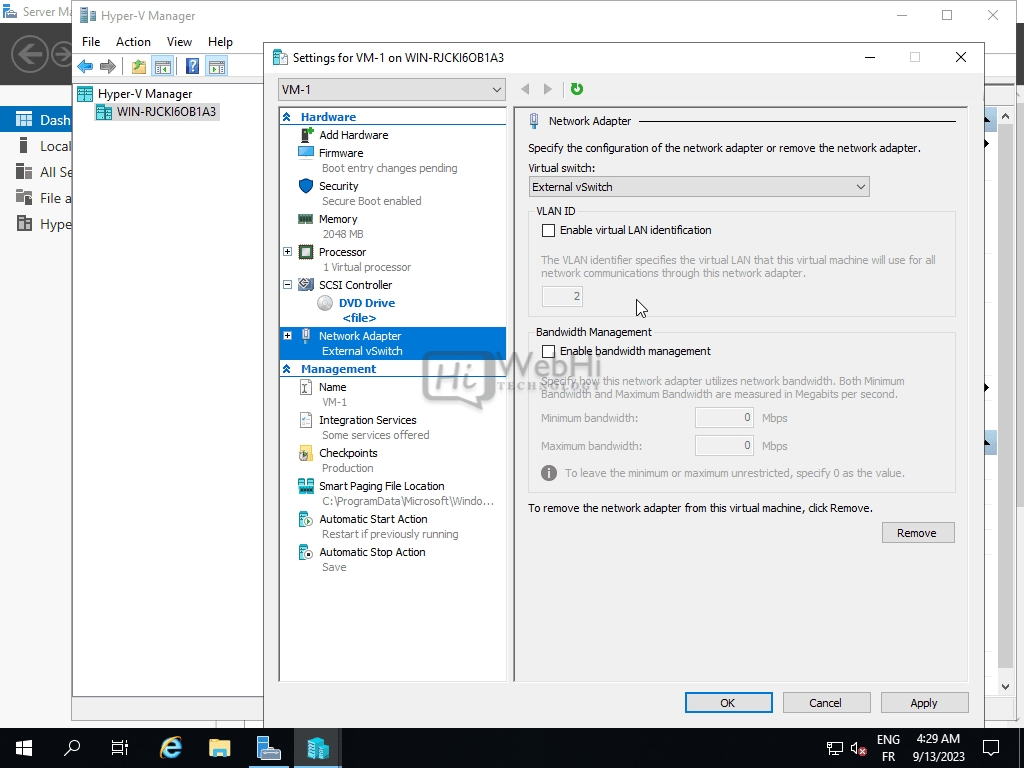
- Under Network Adapter, verify that the Virtual Switch is set to the external network.
With these settings configured, our virtual machine is ready to be powered on and installed with an OS.
Start Virtual Machine
Starting the VM will boot it from the configured OS media and begin installation.
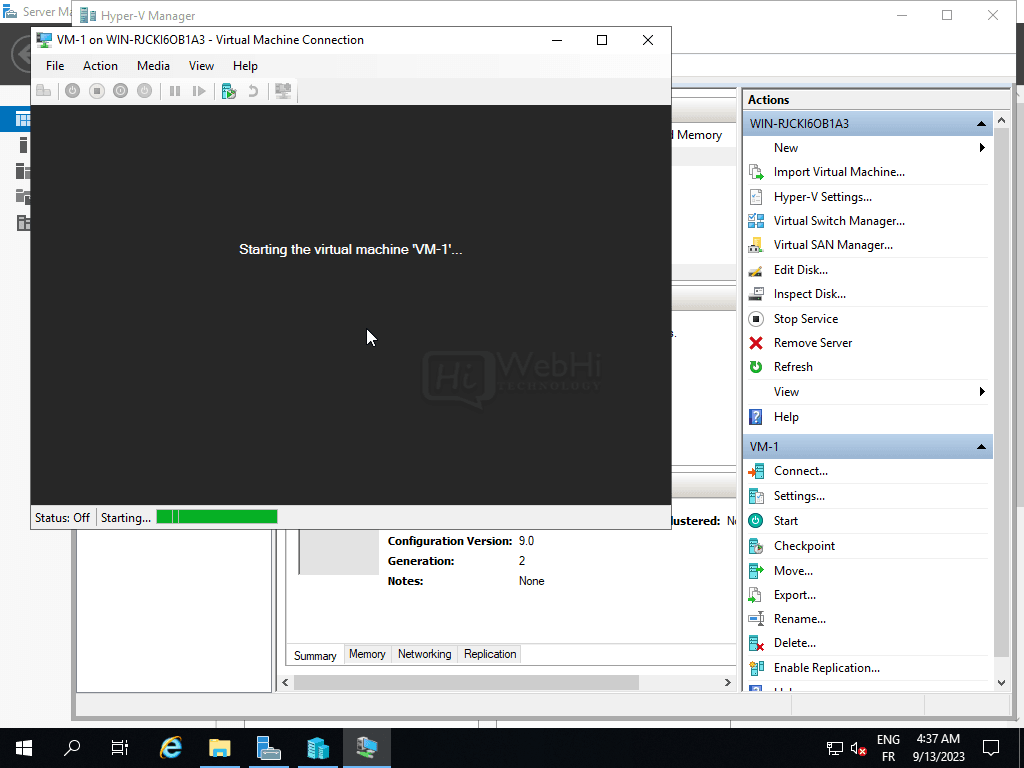
- In Hyper-V Manager, select the virtual machine and click Start in the right Actions pane.
- The VM will boot and load the OS installer from the attached ISO image. Proceed with OS installation steps.
- After the OS is installed and configured, eject the installation media by going to the VM Settings.
- With the ISO removed, you can now start the VM to boot into the newly installed OS.
Our first virtual machine is now installed and ready to use! We can follow the same steps to create additional VMs as needed.
Managing Virtual Machines
Hyper-V provides a full suite of management tools for monitoring and administering your virtual machines. Here are some key capabilities:
- Live Migrate – Move running VMs between Hyper-V hosts with no downtime.
- Snapshot – Take point-in-time backups of VM state. Useful for testing patches or upgrades.
- Replication – Asynchronously replicate VMs to another host for disaster recovery.
- Virtual Machine Connection – Connect directly to a running VM’s console and interface.
- Resource Metering – Track resource utilization like CPU, memory, disk, and network usage.
- PowerShell Direct – Manage VMs using PowerShell commands and remoting.
Using these features, you can maintain high availability, quickly restore to known good states, migrate workloads, and automate management tasks.
Networking and Storage
Hyper-V offers advanced networking and storage configurations for virtual environments.
For networking, you can create virtual switches that connect to the physical network, private switches between VMs on the host, and apply network security rules.
For storage, VMs can use virtual hard disks (VHD/VHDX), pass-through disks for SAN access, and Hyper-V virtual Fibre Channel for maximum performance.
Features like SMB storage, iSCSI, and ODX further enhance storage performance and flexibility. You can also replicate VMs and their storage across different servers and sites.
With a strong understanding of Hyper-V networking and storage capabilities, you can build robust and resilient infrastructure for your critical workloads.
Backup and Disaster Recovery
It is crucial to implement backup and disaster recovery strategies to protect your Hyper-V deployment from outages and data loss.
Hyper-V includes built-in backup capabilities in Windows Server, allowing you to back up VMs and configuration:
- Windows Server Backup can be used to schedule backups of VM storage VHD(X) files.
- Hyper-V replication asynchronously copies VM storage and configuration files to another host.
- Windows Failover Clustering provides high availability with automated VM failover.
Third-party tools like System Center DPM can also perform host-level and guest-level backups across multiple Hyper-V servers.
Test your disaster recovery plan regularly to ensure VMs and services can successfully failover and recover if the primary Hyper-V host goes down.
Security Best Practices
It is important to lock down the Hyper-V hosts and virtual machine environments using security best practices. Here are some key considerations:
- Isolate Hyper-V management network
- Harden the parent partition
- Use secure boot and UEFI for VMs
- Disable unnecessary services and protocols
- Restrict administrative access
- Implement the least privilege permissions
- Enable virtual TPM for integrity protection
- Use BitLocker to encrypt VM files and volumes
- Secure VHD files and limit paths
- Disable internet access for unnecessary VMs
Applying security configurations, policies, and tools like firewalls and anti-malware will help harden your overall Hyper-V security posture. Routinely scan and patch for the latest updates.
Conclusion
In this comprehensive guide, we covered the end-to-end process for designing, deploying, managing, and securing virtual machine environments with Hyper-V on Windows Server.
You should now have a solid understanding of Hyper-V architecture, creating virtual switches, building VMs, configuring resources, working with storage and networking, backup and disaster recovery, and security best practices.
With the powerful capabilities of Hyper-V, you can efficiently consolidate and streamline workloads, ensure high availability, quickly scale hosts up or down, test application updates or patches, provide development environments, and much more.
By following the steps and guidance in this guide, you will be well on your way to leveraging the full potential of Hyper-V and building a robust and flexible virtualized infrastructure.